


review – I’ve reviewed quite a few mechanical keyboards over the past year or so, and I’ve found myself to be very picky when it comes to why I prefer a particular keyboard. I have a short list of features that I consider important. That list includes an analog knob to control volume, clicky switches, wired connectivity (I don't like dealing with charging, okay?), and overall aesthetics. When Leobog asked if I'd like to review his EPOMAKER x LEOBOG K81 Pro Wireless Mechanical Keyboard DIY Kit, I accepted because it was the first barebones kit I'd had a chance to review and it also came with knobs. Ha! Build it, type on it, and see if it's the bare minimum when it comes to mechanical keyboards.
what is that?
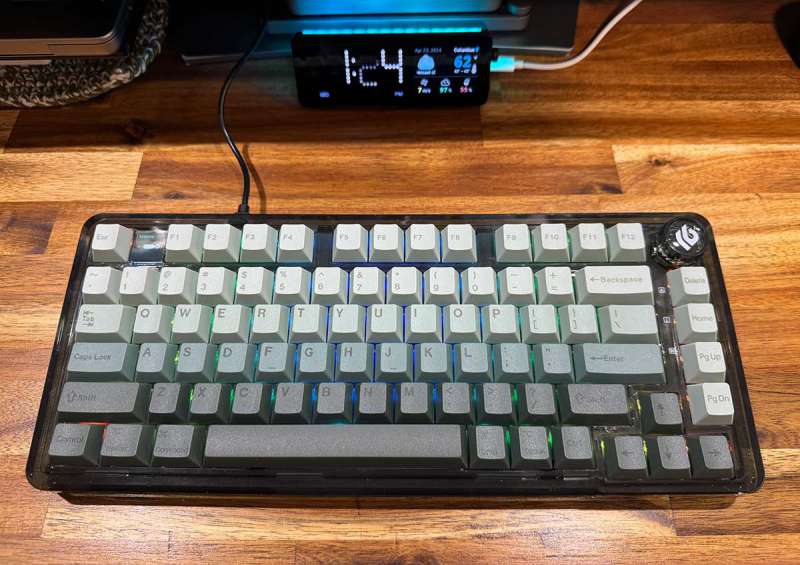
EPOMAKER x LEOBOG K81 Pro Wireless Mechanical Keyboard DIY Kit is an affordable barebones kit for mechanical keyboards with a 75% layout that includes only the board, case, and cables. There are no switches or keycaps included (although Leobog did enough to include some to facilitate this review).
What's included?
- EPOMAKER × LEOBOG K81 Pro Keyboard
- coiled usb cable
- Key switch/cap puller tool
- User guide
Technical specifications
Click to expand specifications
- Triple mode: Bluetooth5.0/2.4Ghz/Type-c wired
- transparent acrylic case
- Multifunction knob and 0.85 inch LCD display
- Hot-swappable PCB and plate mounted stabilizer
- Gasket installed
- Sound deadening effect with Poron plate foam and PET case foam
- Dynamic RGB lighting
- 3000mAh battery
- NKRO
Design and function
As I mentioned earlier, this is the first barebones kit I've had a chance to review. I thought it would be fun to try installing switches and caps from scratch.
Note that I haven't tried any mods or hacks as I haven't reached that stage of my mechanical keyboard journey (yet). I assembled this keyboard as is and tested it. So enough disclaimer, let's get started.
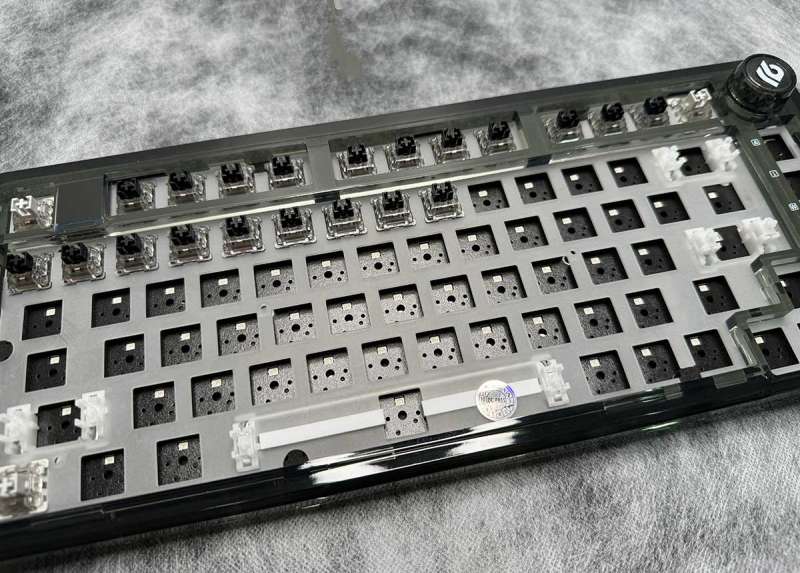
After unpacking the EPOMAKER x LEOBOG K81 Pro, the first thing I did was disassemble it (see the unboxing video below). By disassembling it, I was able to learn a lot about mechanical keyboards that I didn't know before.
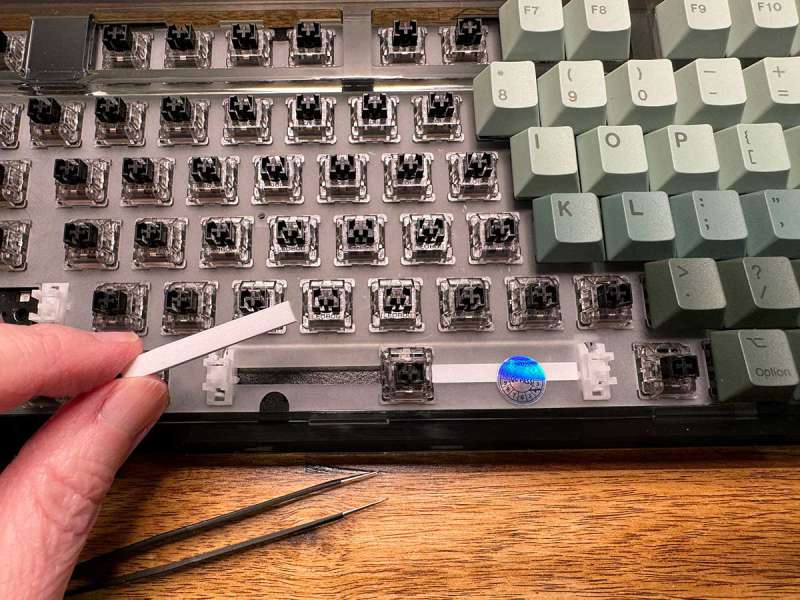
The first thing I noticed were the two thin white foam sound deadening strips below the spacebar.
Next, I looked at the stubs (stabilizers) attached to the pre-cut and lubricated plates. The stubs look like her two switches connected by wires and are used under the big keys like SHIFT, ENTER, BACKSPACE, and SPACEBAR.
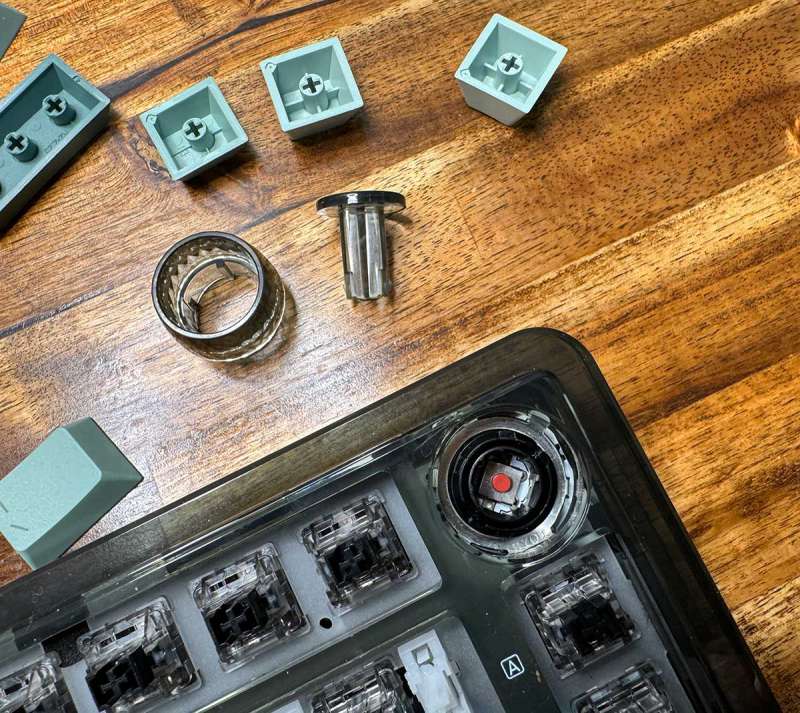
I removed the analog knob and removed the foam-covered screws securing the top of the acrylic case. Strangely, the screws were barely tightened.
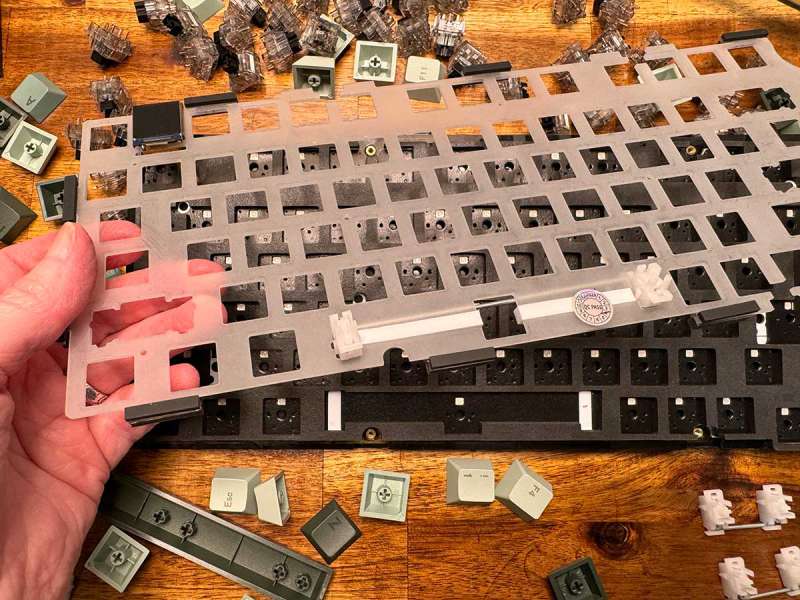
The top layer is a polycarbonate switch plate with adhesive foam padding around the edges.
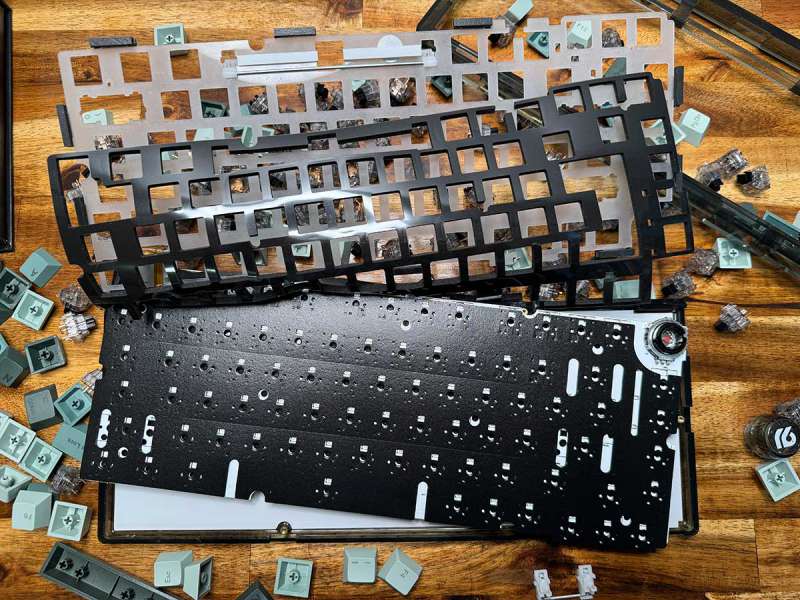
Underneath the PC layer is a Poron foam switch pad and a silicone pad.
I'm learning that different types of gaskets produce different sounds, or “socks,” from a keyboard.
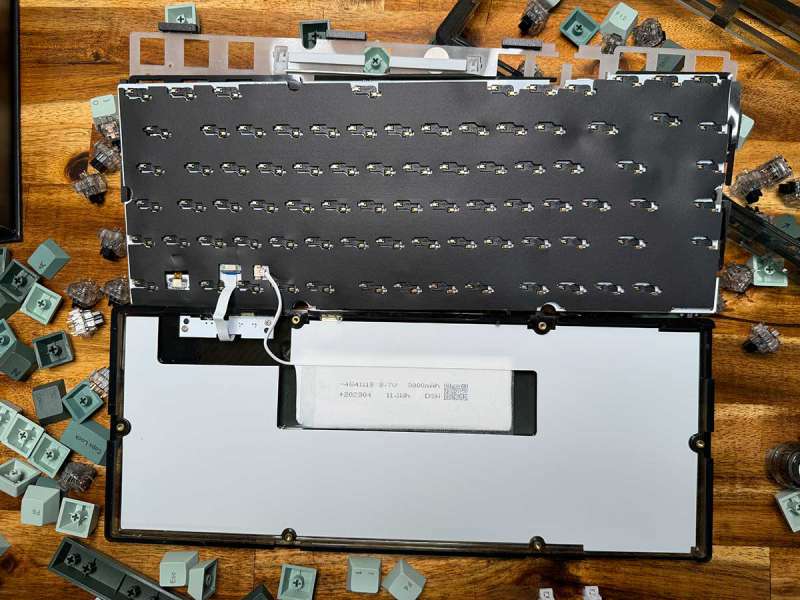
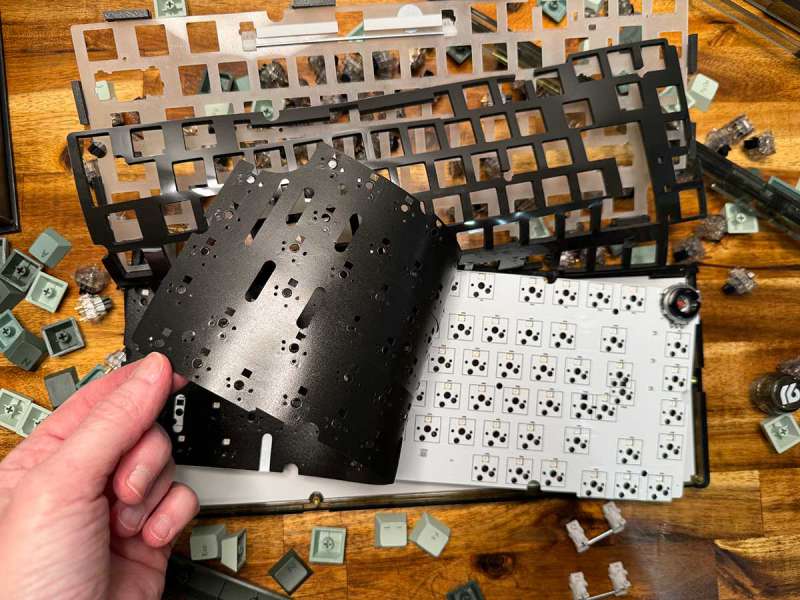
Underneath the circuit board itself is another layer of foam with a PET bottom pad with a cutout for the battery.
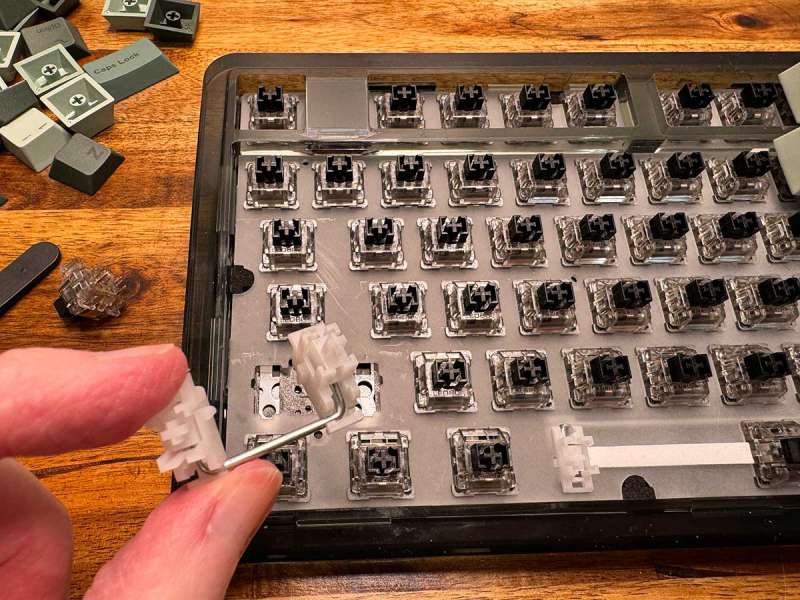
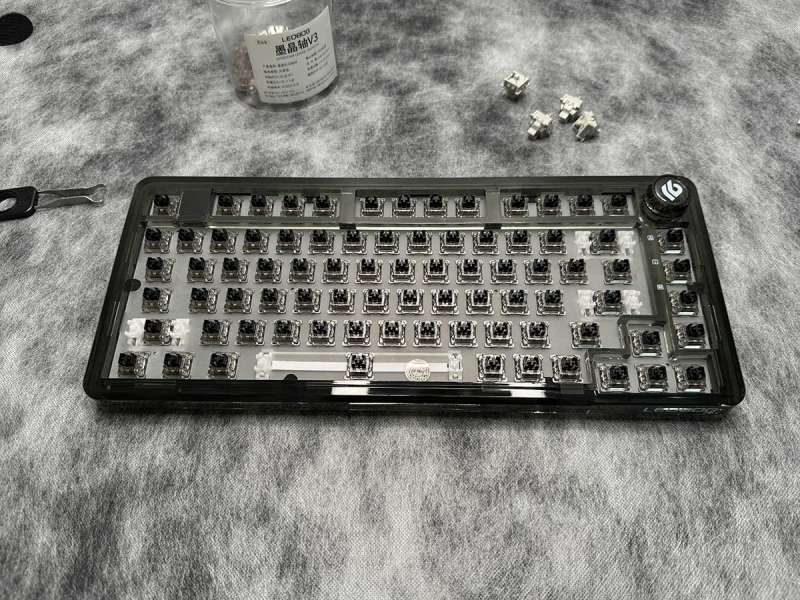
I put the EPOMAKER x LEOBOG K81 Pro back together and installed the switches that Leobog provided with the keyboard sample.
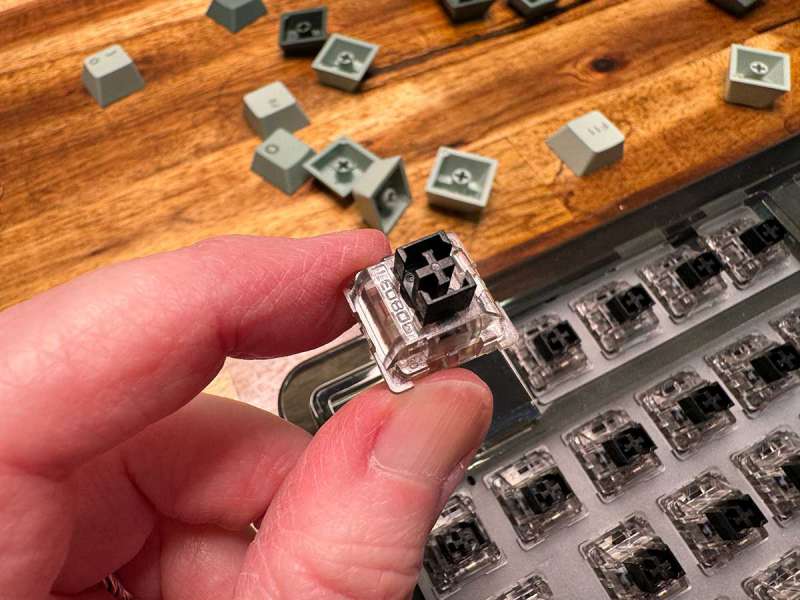
Remember, this barebones kit does not include a switch… The Leobog Ice Crystal 5-pin linear switch was sent to me as a convenience for review purposes.
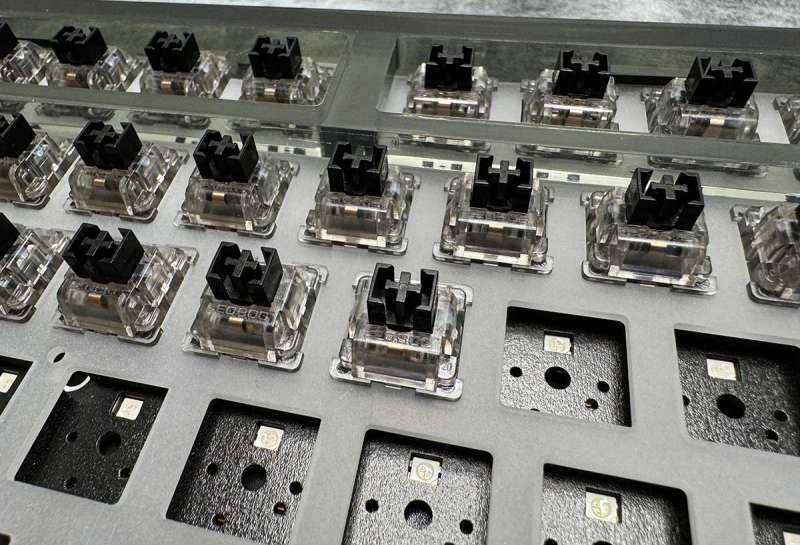
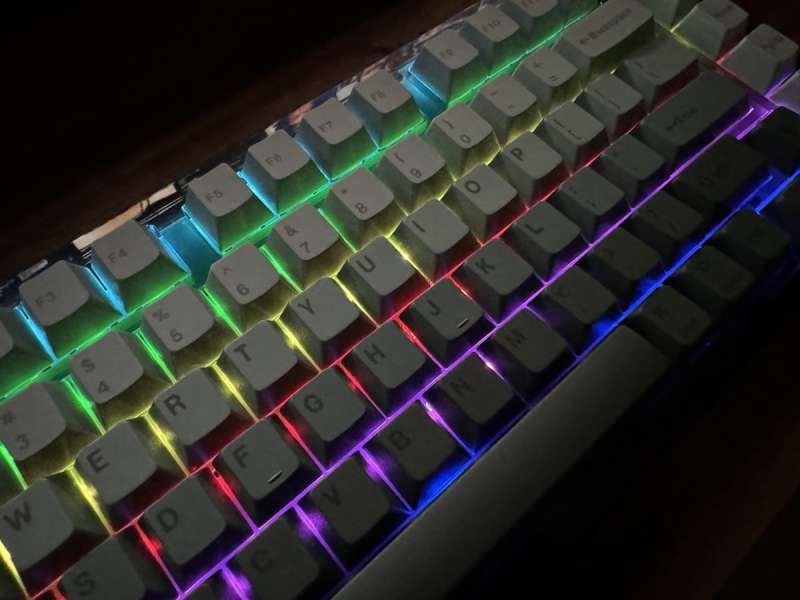
This is not a switch review, but the Leobog Ice Crystal switches were easy to insert into the K81 Pro keyboard. The transparent switch body allows the north-facing LEDs to shine through, providing the lighting effects available on this keyboard.
Once the switch is inserted, the next step is the cap. As well as the switch, LEOBOG sent me a set of caps.
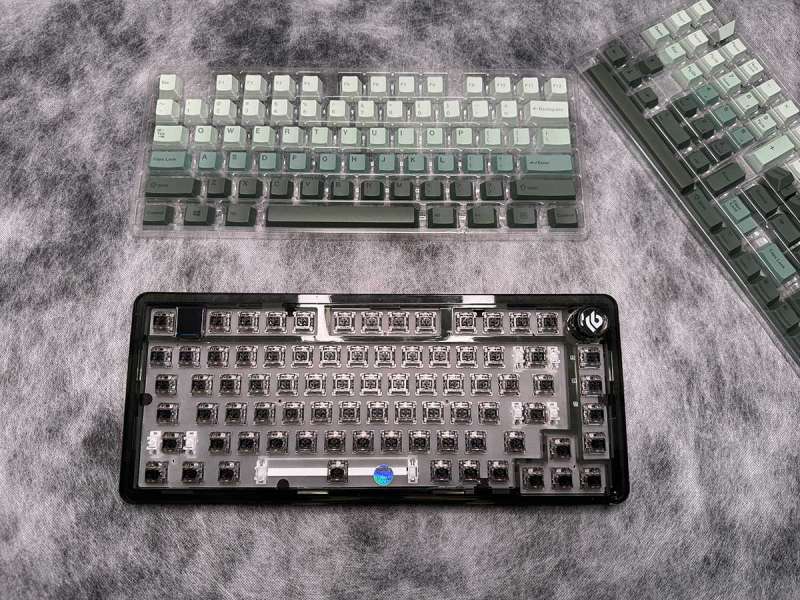
The green cap set is perfect for the green K81 Pro.
Of course, if you don't like linear switches or green caps, you can buy whatever you like. Because that's the whole point of a DIY barebones keyboard kit.
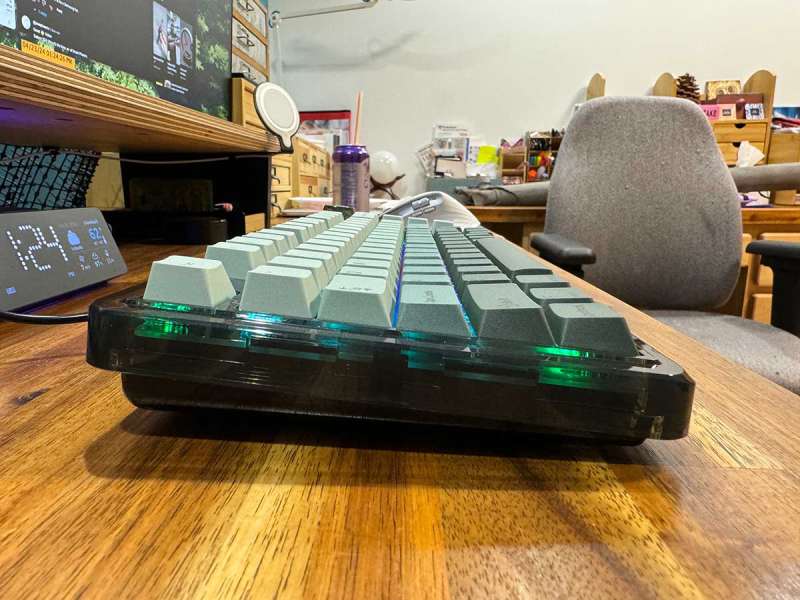
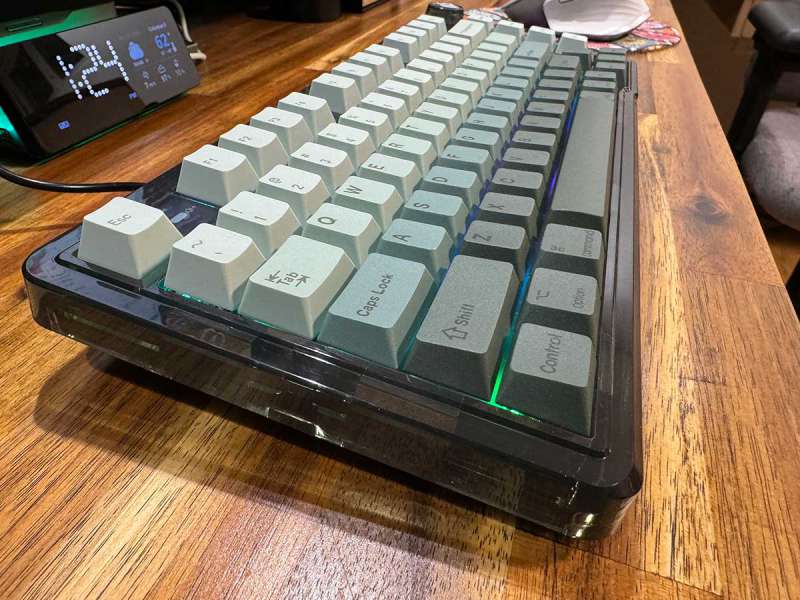
Below is a side/side view of the keyboard. Depends on the keycap set used.
The image above shows how the RGB lighting effect shines through the case.
I should also mention that there are no flip-up feet on the bottom of this keyboard that you can use to adjust the angle of the keyboard for ergonomics. This may be a concern for some people, but since the keyboard has a built-in angle, I didn't mind not being able to raise it any higher.
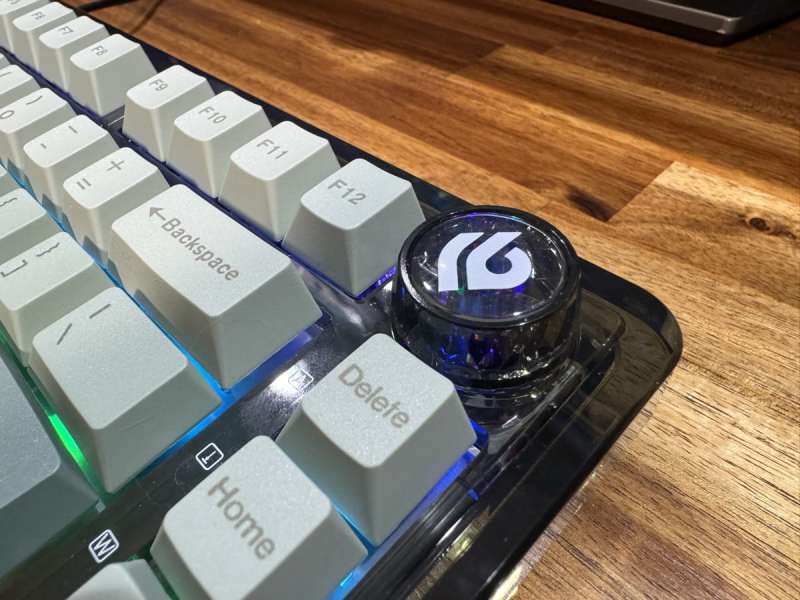
You can't see it in the image above, but the knob also has a lighting effect. The knob is an infinitely rotating knob that can also be pushed.
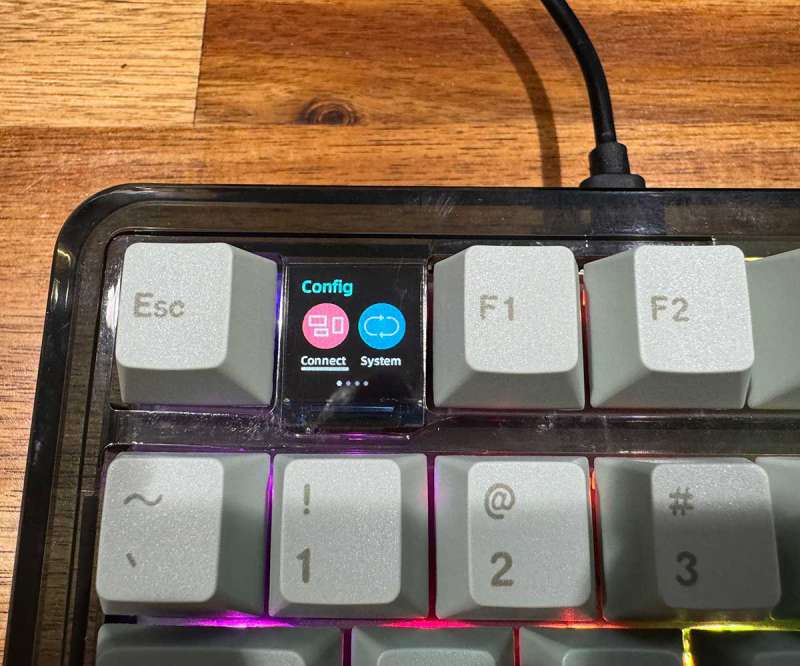
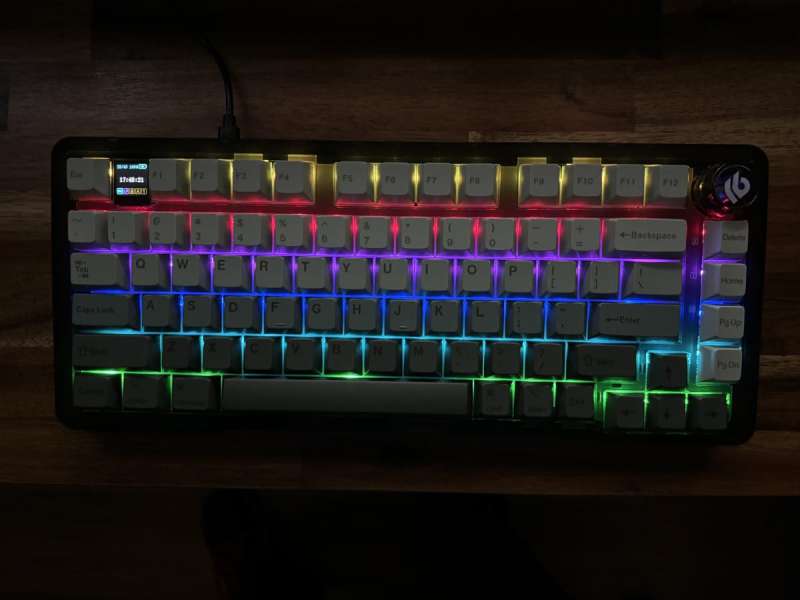
Unlike many mechanical keyboards I've reviewed that have knobs, this one doesn't have a volume controller by default. The knob on the EPOMAKER x LEOBOG K81 Pro scrolls through keyboard configuration options on a small color display between the ESC and F1 keys.
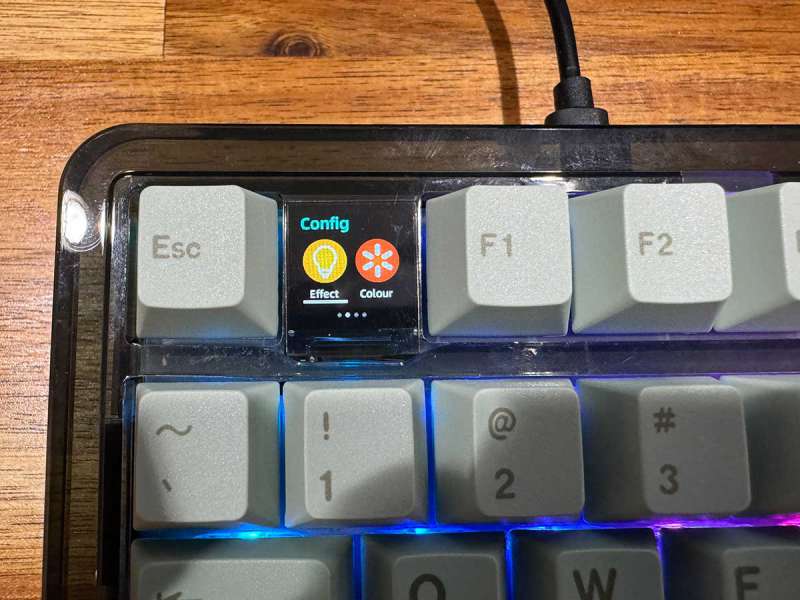
Configuration options include selecting connection type (Bluetooth, wired, dongle) and format (Win, Mac, Android, iOS), lighting effects, and LED color.
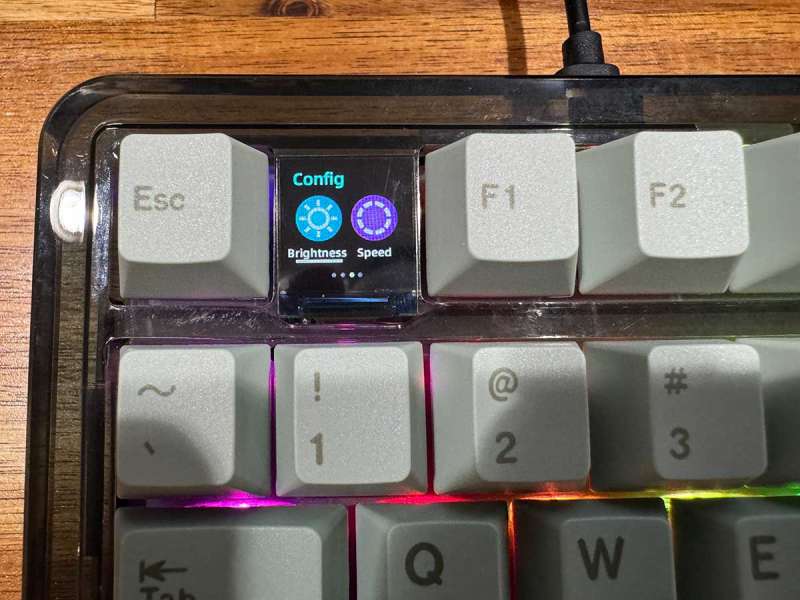
You can also change the brightness and speed of lighting effects.
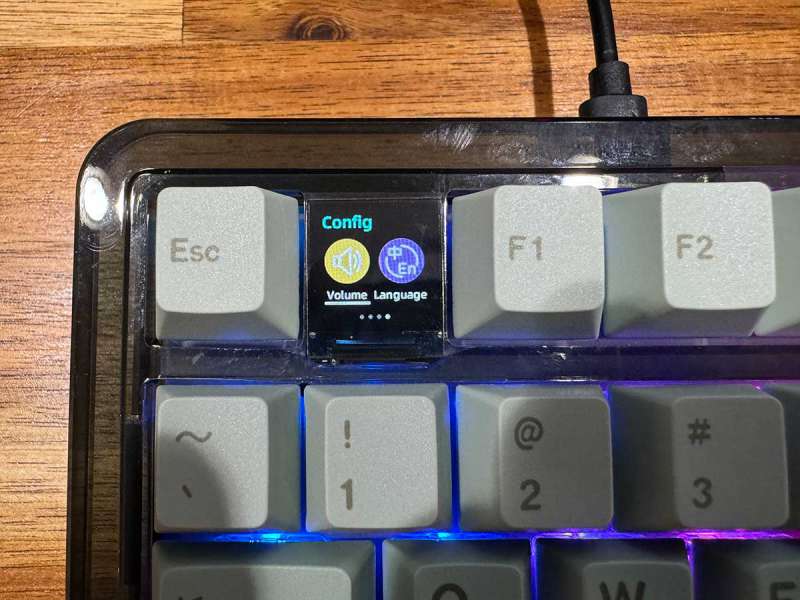
If you want to use the knob as a volume controller, you need to select that mode in the menu.
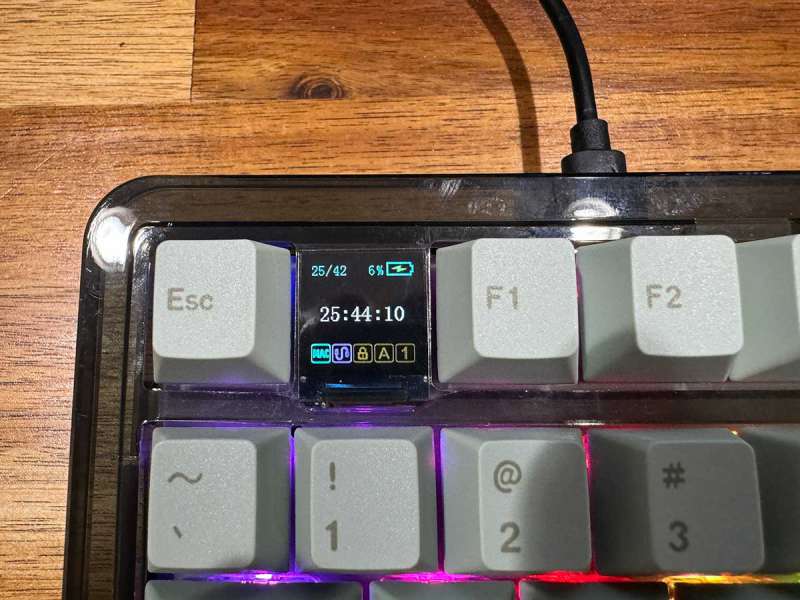
The status screen also shows the time, battery charge level, and connection type.
The EPOMAKER x LEOBOG K81 Pro mechanical keyboard looks great if you like translucent plastic. To be honest, plastic is not my thing. I also don't mind the fact that if you eat at your desk like I do, you're going to get fingerprints and oil stains on the plastic (please don't judge me).
Unpack, assemble, and listen to see it in action
The EPOMAKER x LEOBOG K81 Pro sounds pretty good and I love typing on it. This surprised me since I usually prefer tactile switches over linear switches.
I like the 75% layout, which gives you all the keys you need without taking up as much desk space as a full-sized keyboard.
What I like about the EPOMAKER x LEOBOG K81 Pro kit
- Mechanical keyboard kit that can be easily customized
- multiple gasket layers
What do I need to improve?
final thoughts
The EPOMAKER x LEOBOG K81 Pro Barebone DIY Mechanical Keyboard Kit was the perfect way to try building a mechanical keyboard from scratch. Now you can explore his mods with confidence.
price: $99.99
where to buy: Leoborg and Amazon
sauce: Samples for this review were provided by Leobog. Leobog did not have final say on reviews and did not preview reviews prior to publication.