


Easter has passed and April is flying by. I am already thinking about what to do for Mother's Day in May. I want to buy her beautiful jewelry and clothes for Mother's Day, but that is not her preference. She wants something unique and special, handmade. That is why I like to make something new for my mother every year. This year, DIY Magnet Set for Mother's DayMy daughter will love using her Mother's Day magnets all year long and remembering that I made them for her. These DIY glass magnets are perfect for the fridge. You can personalize them with a little photo or create a matching magnet set with patterned paper.
This custom magnet tutorial was first published on April 7, 2015. We've republished it to add printable craft cards for these fun magnets and for new readers to enjoy.
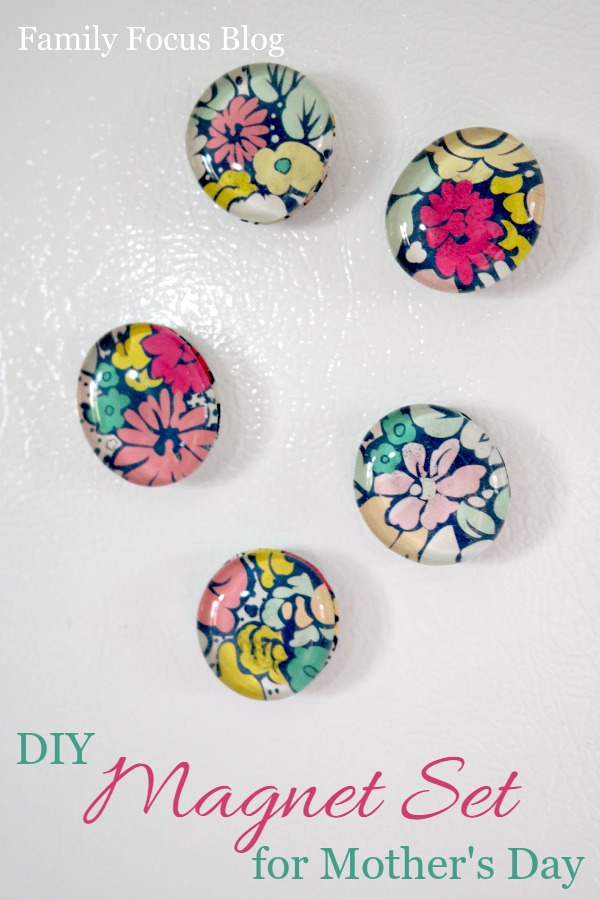
Mother's Day Magnet DIY Tutorial
Looking for a great gift idea? Try these cute fridge magnets. Mother's Day crafts are a meaningful way to show your appreciation and love for the mother or mother-like person in your life. Handmade gifts often have a personal touch that makes them more special than store-bought ones. Plus, crafting is a fun and creative activity that allows you to express your feelings and make something unique. This magnet DIY is super budget-friendly. If you like these Mother's Day magnet craft ideas, let's get started.
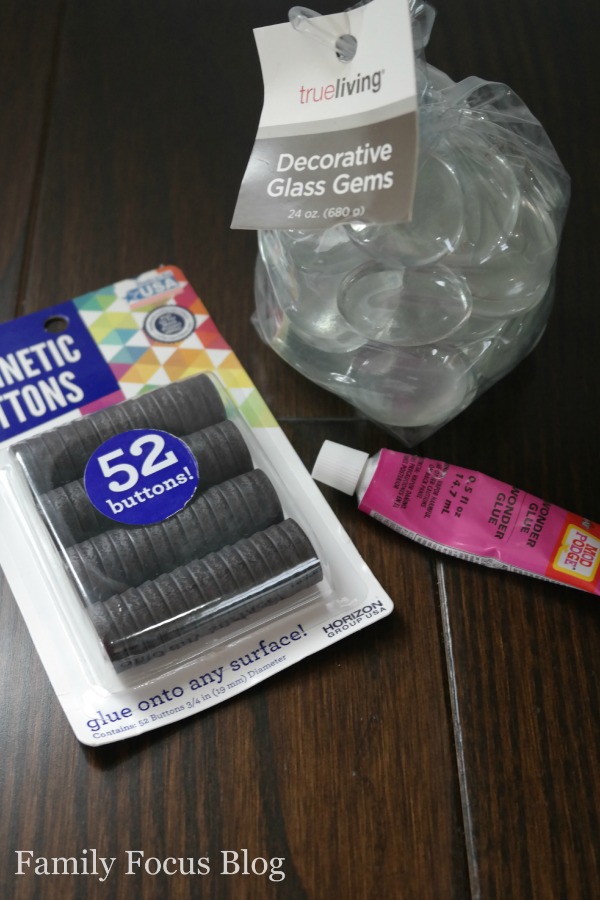
DIY Magnet Craft Supplies:
- 1 pack of decorative clear glass gems (also called glass pebbles) (available at Dollar Tree and other dollar stores)
- 1 pack of magnetic buttons or magnetic sheets (craft magnets are available at your local craft store)
- Transparent adhesive for glass
- 1 sheet of scrapbook paper, magazine clippings, or photo paper (if you want to make a DIY photo magnet)
- Scissors
Picking a paper design that mom will love is a fun way to show her that you care about her style and favorite colors. The best type of paper is one that's thick and sturdy, like scrapbooking paper. Tissue paper is not a good choice because it's too thin and the glue will show through.
How to make a glass magnet:
Place a glass gemstone on a piece of scrapbook paper or a copy of your favorite photo (if you want to make a photo magnet). Trace around each one. Then cut away the excess paper from the circle.
My glass pieces were not perfect circles so each one was slightly different – if your glass gems are like this, you should keep track of which piece of paper came with each gem so you can be sure you're matching up the right size and shape.
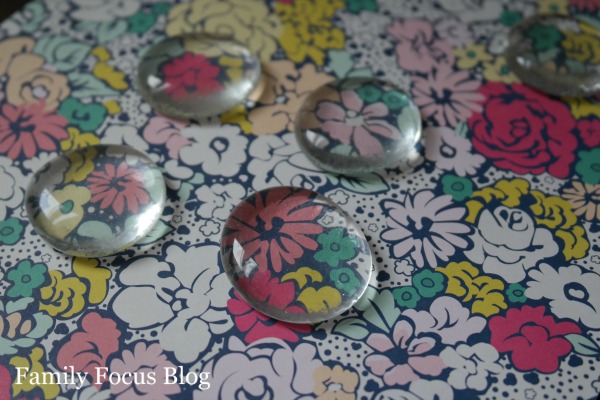
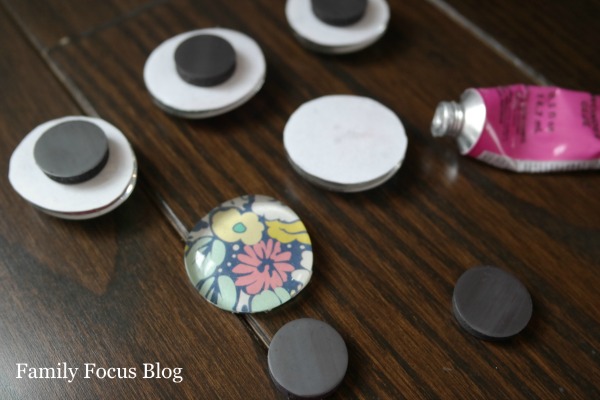
Apply a small amount of glue to the back (flat side) of each glass gem. Make sure the glue you use is designed for glass and dries clear. We recommend using a small amount of Mod Podge or Quick Grip. You can press it directly if you're careful and have good control, or you can apply a thick layer with a foam brush. Both types of glue are available at your local craft fairs, or here's our Amazon affiliate link. Press a paper circle or photo onto the back of the gem, with the side you want to show facing the glass. Carefully remove all air bubbles and set the glass beads aside to dry completely.
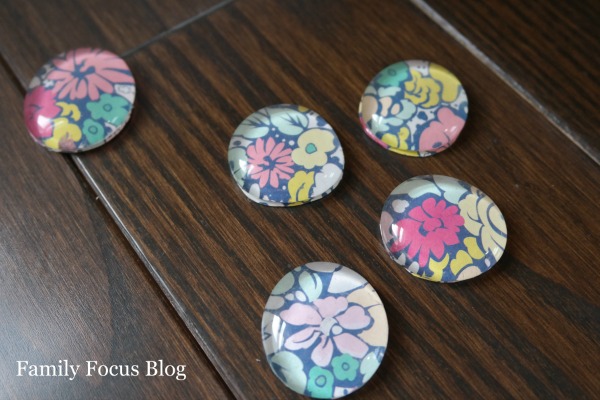
Next, take a pack of plain magnets. First, make sure all the gems are dry. Then, put a bit of glue on the back of the paper and glue your magnetic button to complete your DIY glass magnet. I used the same Mod Podge clear glue, but you can use a hot glue gun if you prefer. The hot glue gun will be on the back of the paper so it won't be visible. Repeat this process for each handmade magnet you want to make.
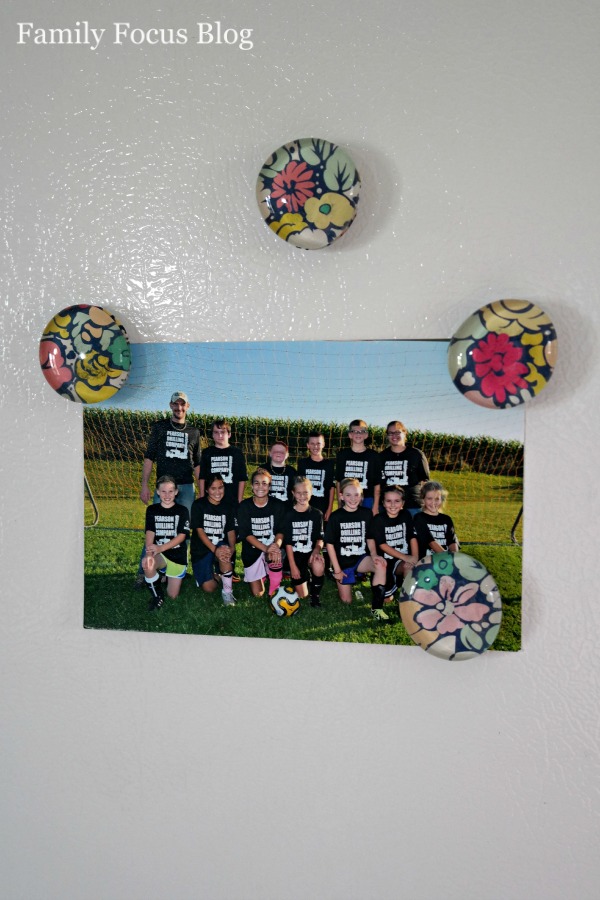
Once the glue has dried, your homemade fridge magnets are ready to use or give as gifts.
Notes about glass magnet crafts:
You could use a magnetic sheet instead and cut it to fit across the back of your glass gemstone, but magnetic buttons are quicker and easier to use, plus I think these craft magnets are actually stronger and hold on better.
If you prefer the square look of your DIY magnets instead of glass pebble magnets, you can use glass tiles.
Allow the glue to dry completely before using your Mother's Day magnets or placing them in boxes or gift bags.
How to Make Printable DIY Craft Magnets
DIY Glass Magnet Craft
![]()
![]()
Easy DIY Glass Gemstone Magnet Craft Tutorial.
material
- 1 pack of decorative clear glass gems (also called glass pebbles) (available at Dollar Tree or craft stores)
- 1 pack of magnetic buttons or magnetic sheets
- Transparent adhesive for glass
- Scrapbook paper, magazine clippings, or a photograph
Instructions
- Place the glass gemstone on top of the scrapbook paper.
- Try tracing each one.
- Cut away any excess paper from the circle, keeping it together with its corresponding magnet.
- Apply a thin layer of clear glass adhesive to the back of each glass gem.
- Press the paper circle onto the back of the gemstone. Carefully remove any air bubbles and set the glass bead aside to dry.
- Once all the gems are dry, apply a little glue to the back of the paper and glue on the magnetic button to complete your DIY glass magnet.
- Allow the adhesive to dry completely before using or gifting.
© 2024 Copyright Family Focus Blog
These DIY glass magnets can be made with family photos, scrapbook paper, magazine clippings, or other decorative paper. Use your mom's favorite things to create a set of these Mother's Day magnets. Why not make a DIY glass gemstone magnet set? What will you use for the background image? What is your favorite Mother's Day gift idea?
Summary of Mother's Day Magnet Crafts
This DIY magnet project is highly customizable, so feel free to experiment with different images, materials and shapes to create a unique and personalized magnet. These DIY Mother's Day fridge magnets are the perfect way to show your love. Great for crafts for adults and kids. Why not give this handmade magnet gift idea a try? Do you think it would make a great gift or will you keep it for yourself?
Like Family Focus Blog on Facebook or follow us on Pinterest for more fun projects!
Related article:
Mother's Day gifts from kids
Mother's Day Gift Guide
Best Mom Journals