


The content below may contain affiliate links, meaning if you click a link and make a purchase we may receive a commission.
This blog post was originally published on June 10, 2020.
Father's Day is less than two weeks away, but this year it didn't come soon enough. Are you looking for a homemade gift for Dad with the kids this year? This adorable portrait keychain is a popular choice and super fun to make with only six supplies. Happy crafting and Father's Day!!
I think both Mother's Day and Father's Day are great days for kids to give handmade gifts to their parents. It's so special to receive something your child actually made for you. I like to suggest *in addition* giving other types of gifts lol – it just wouldn't be Father's Day without a cute handmade item! This year, my kids and I decided to make this cute DIY portrait keychain for Kyle.
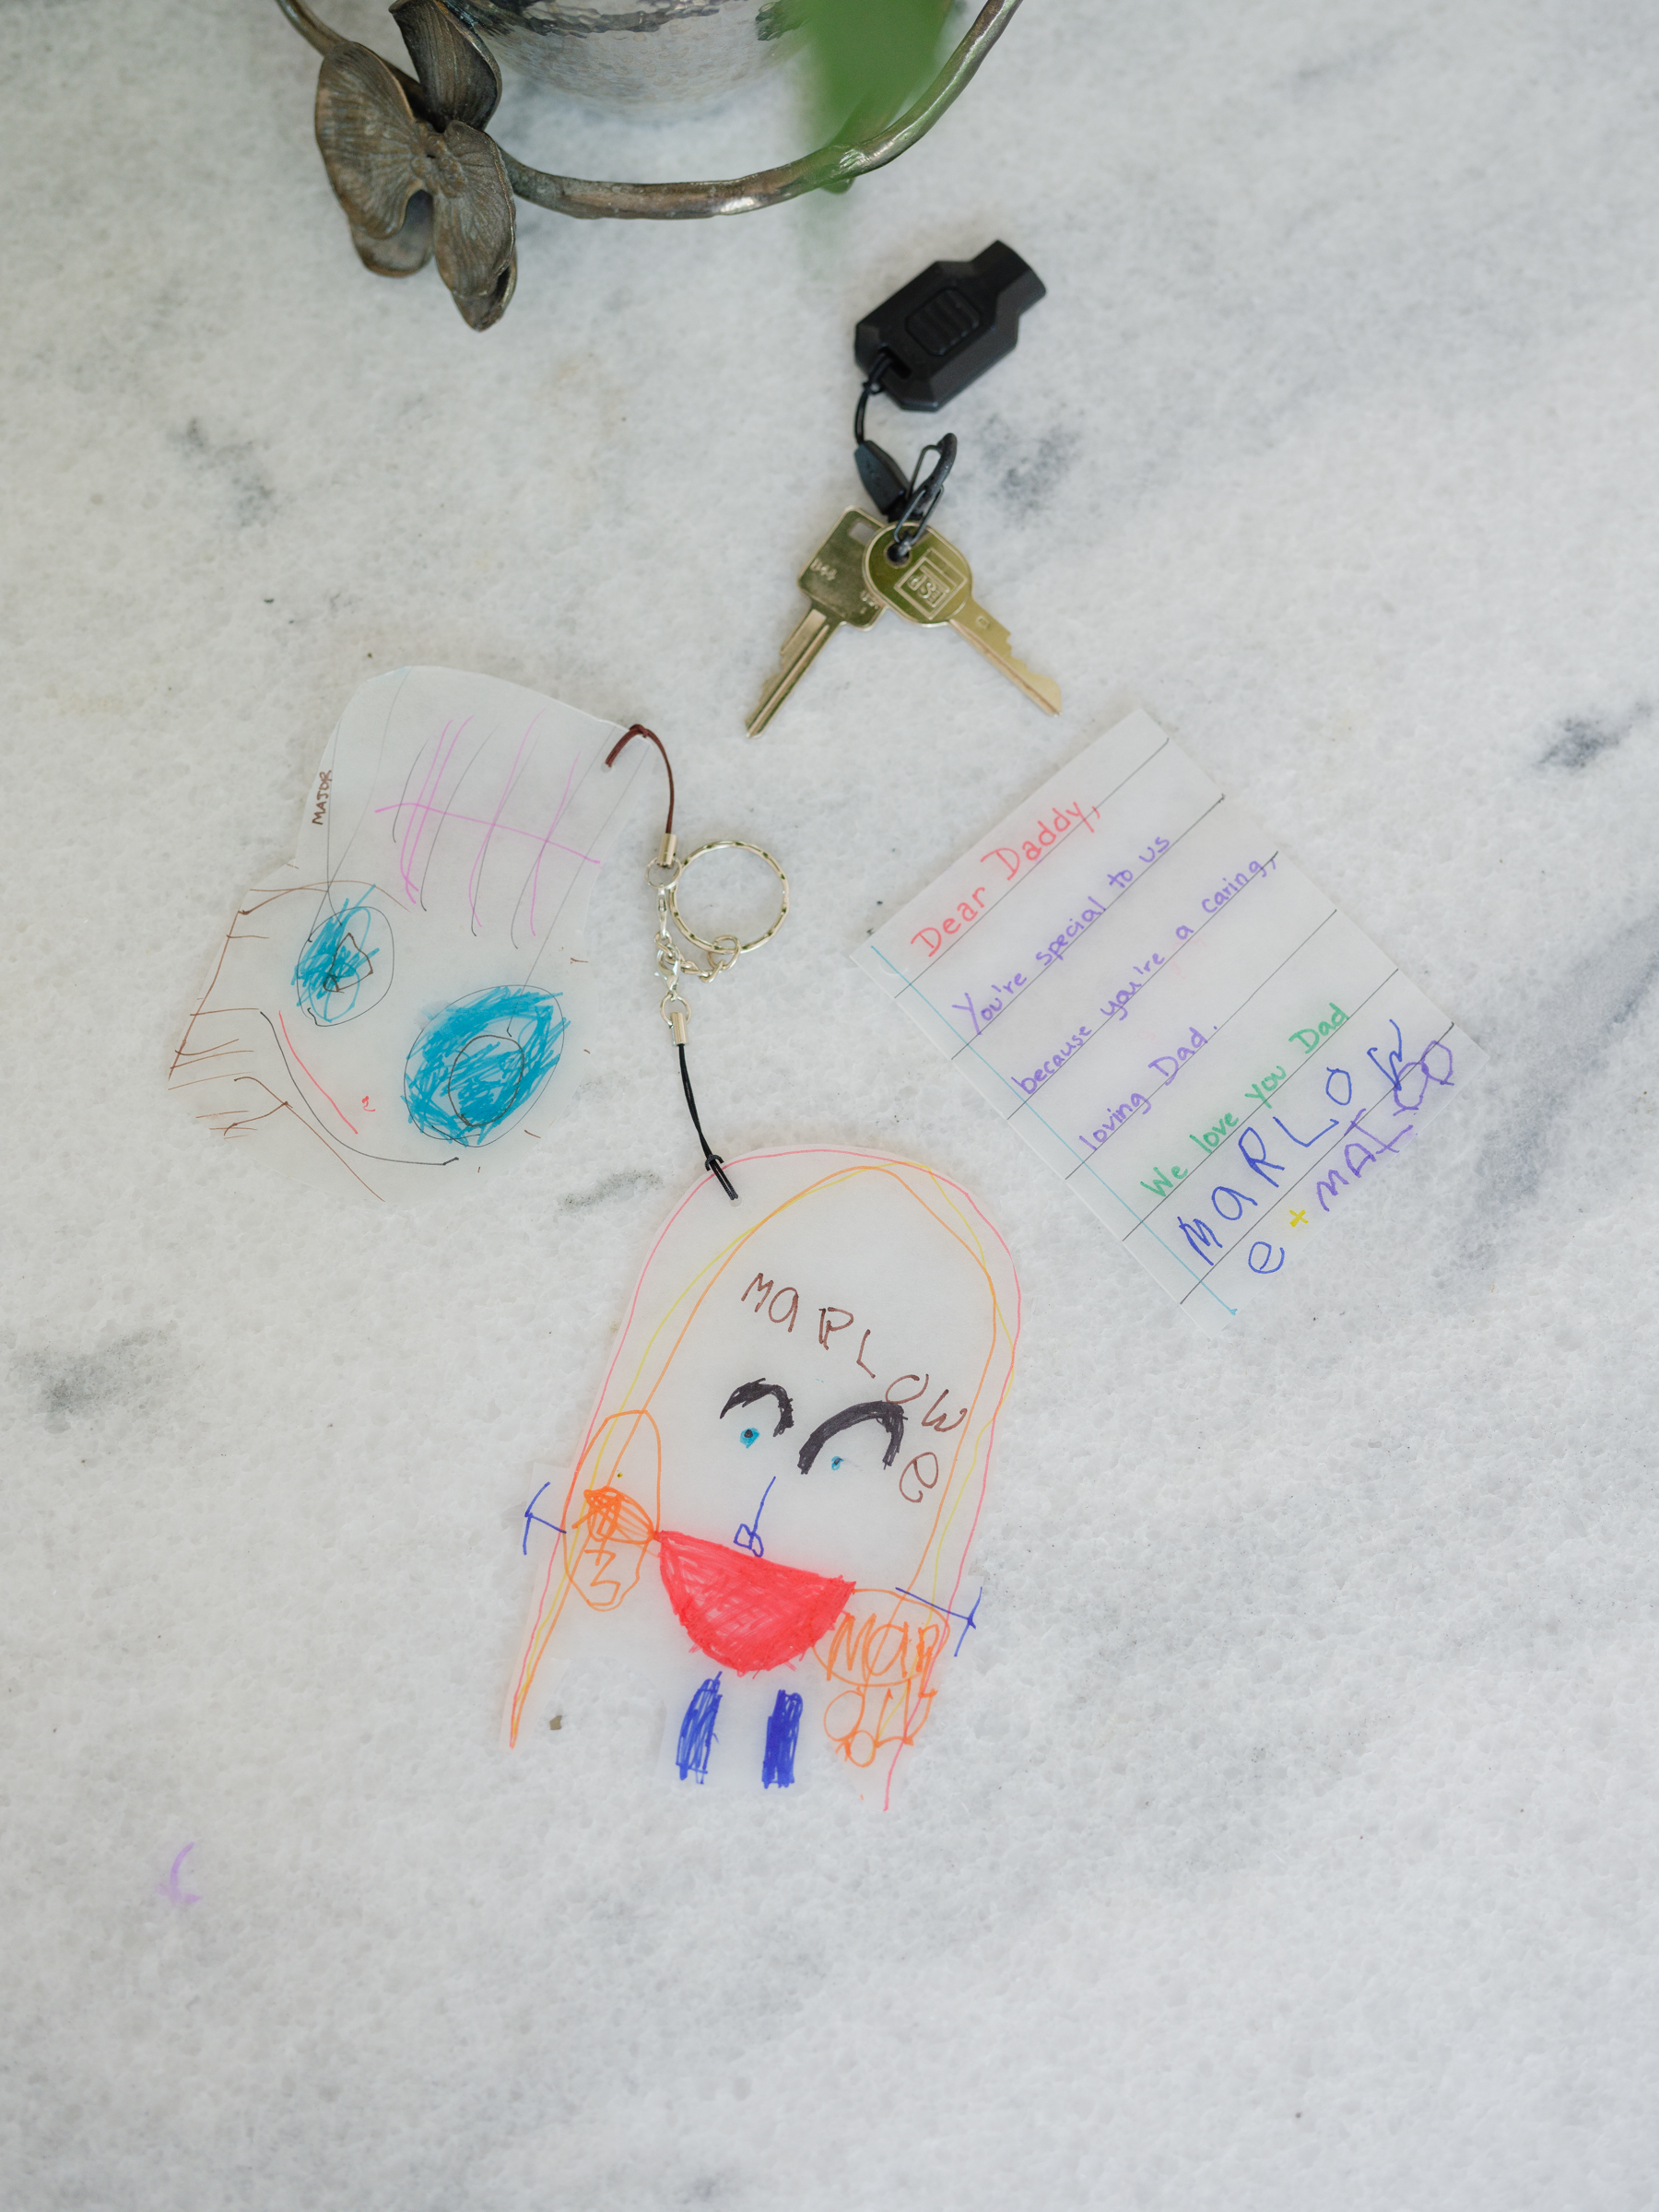
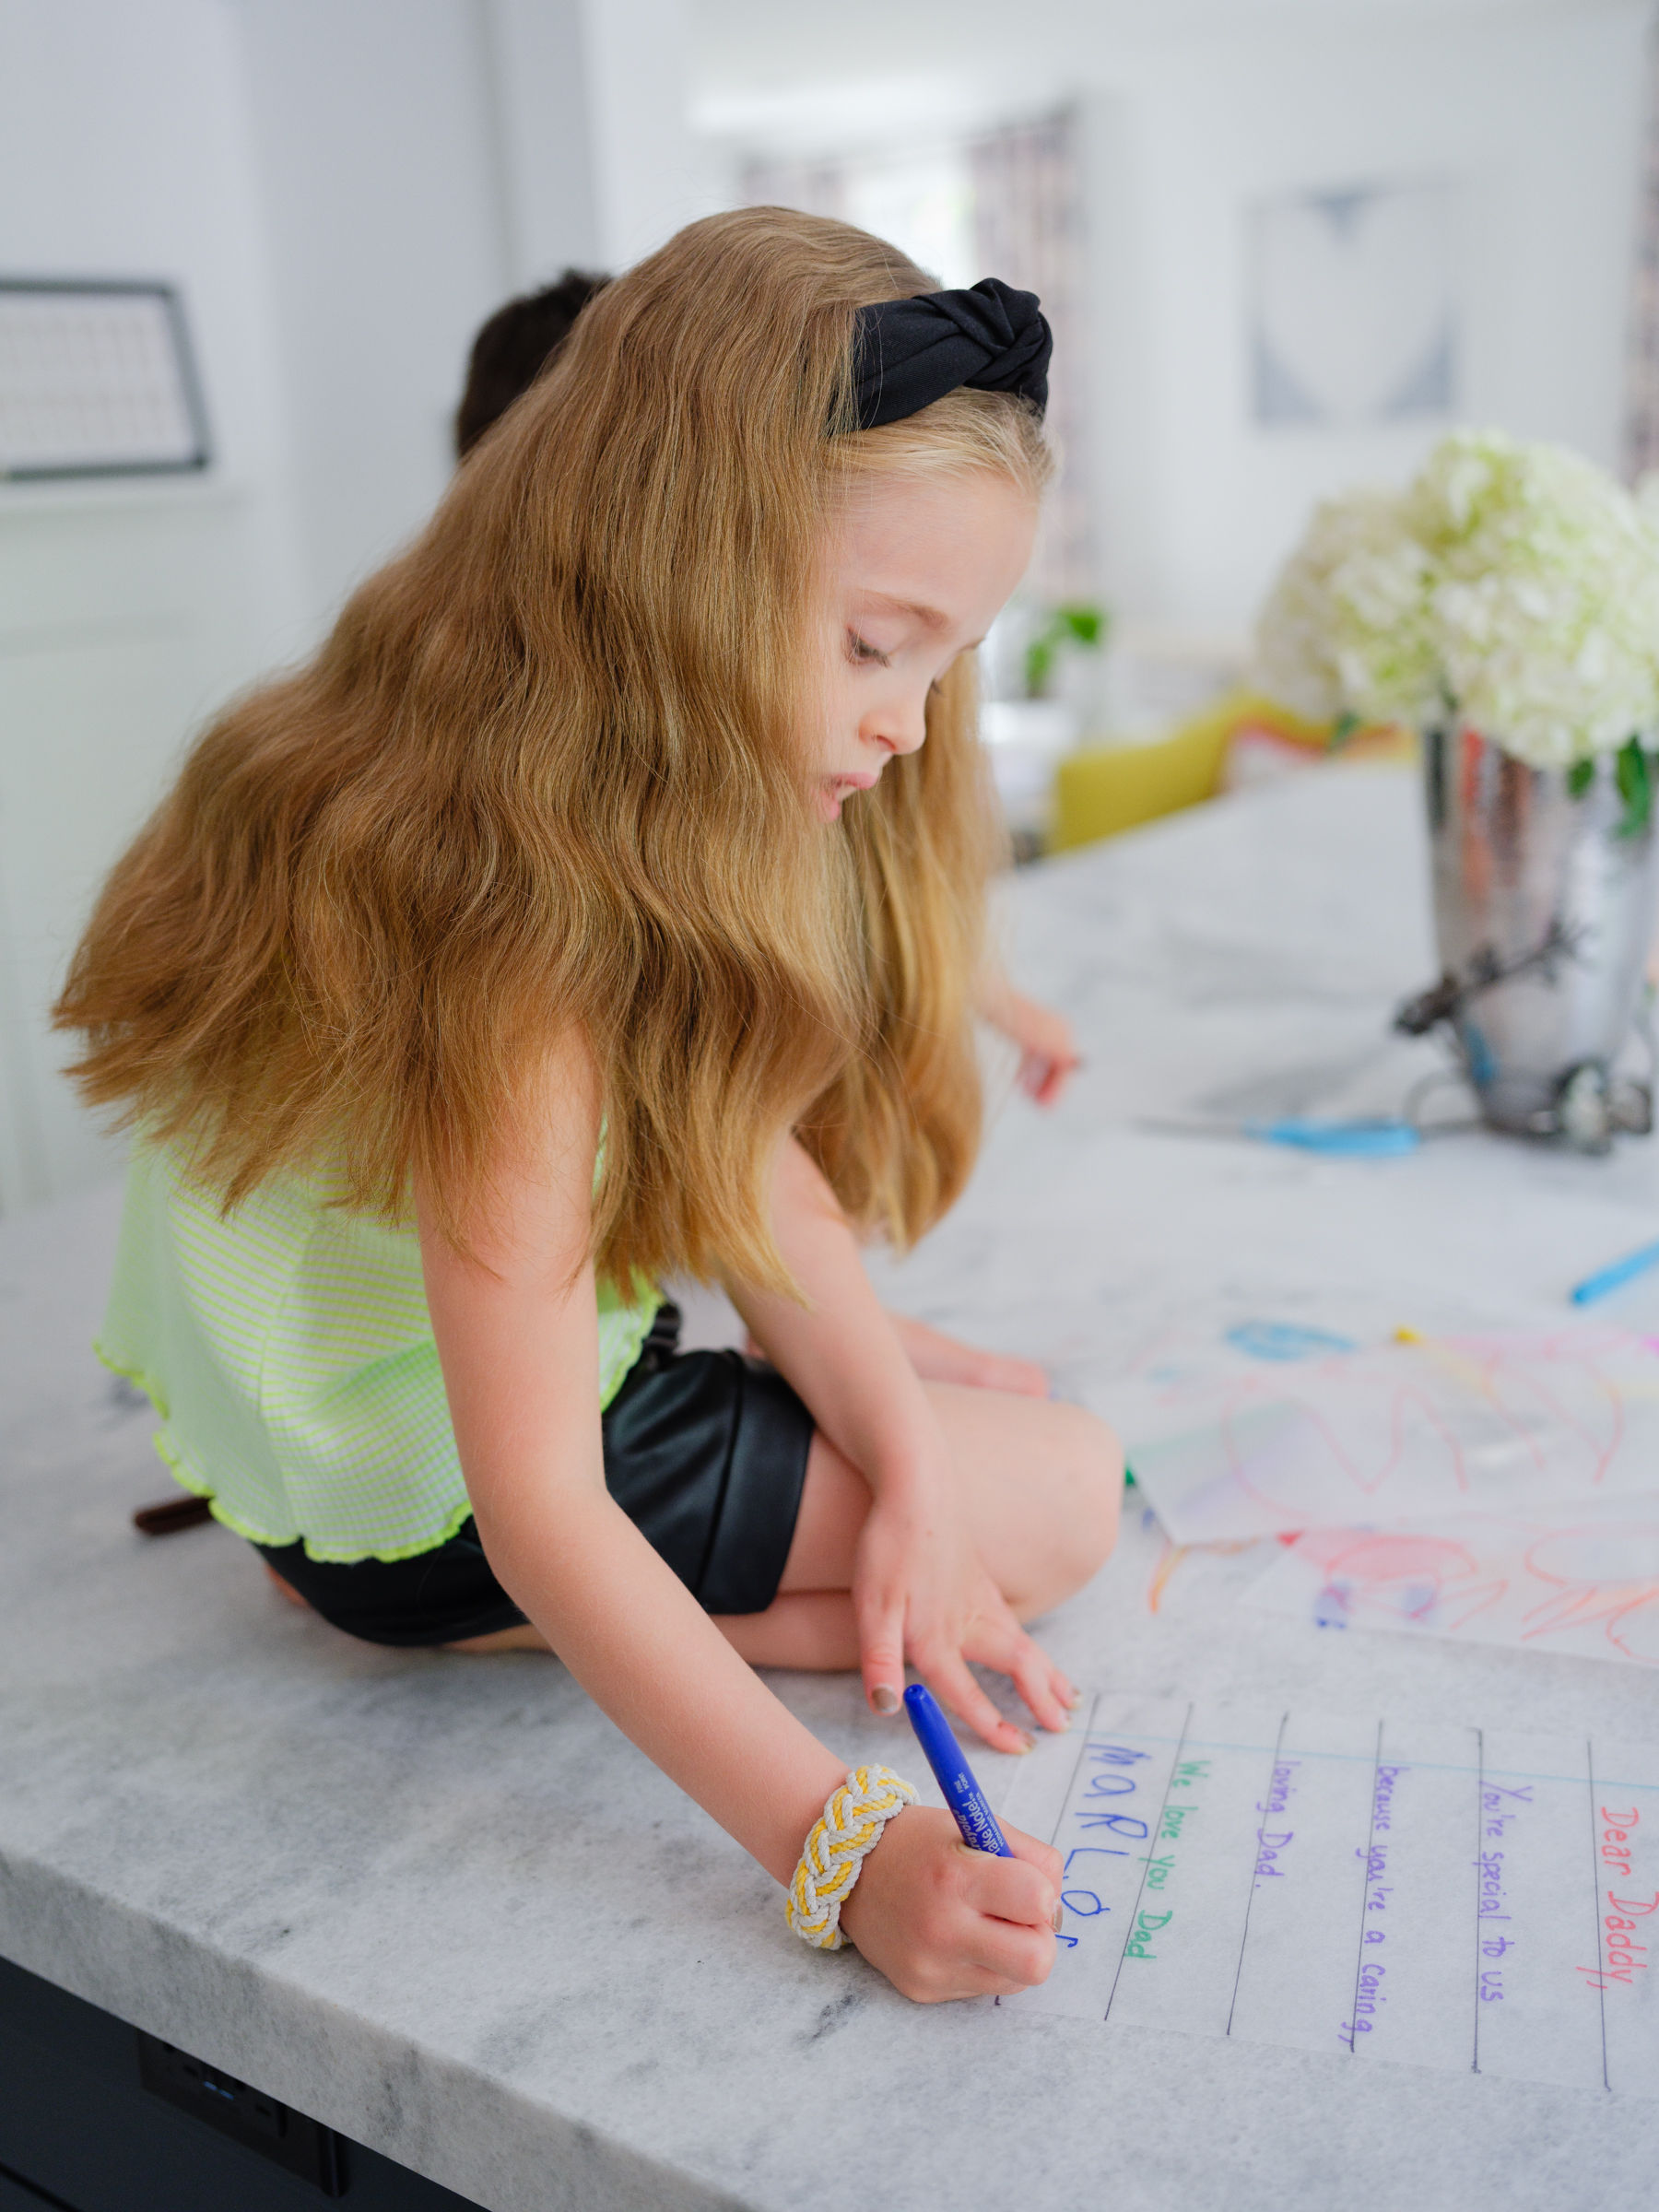
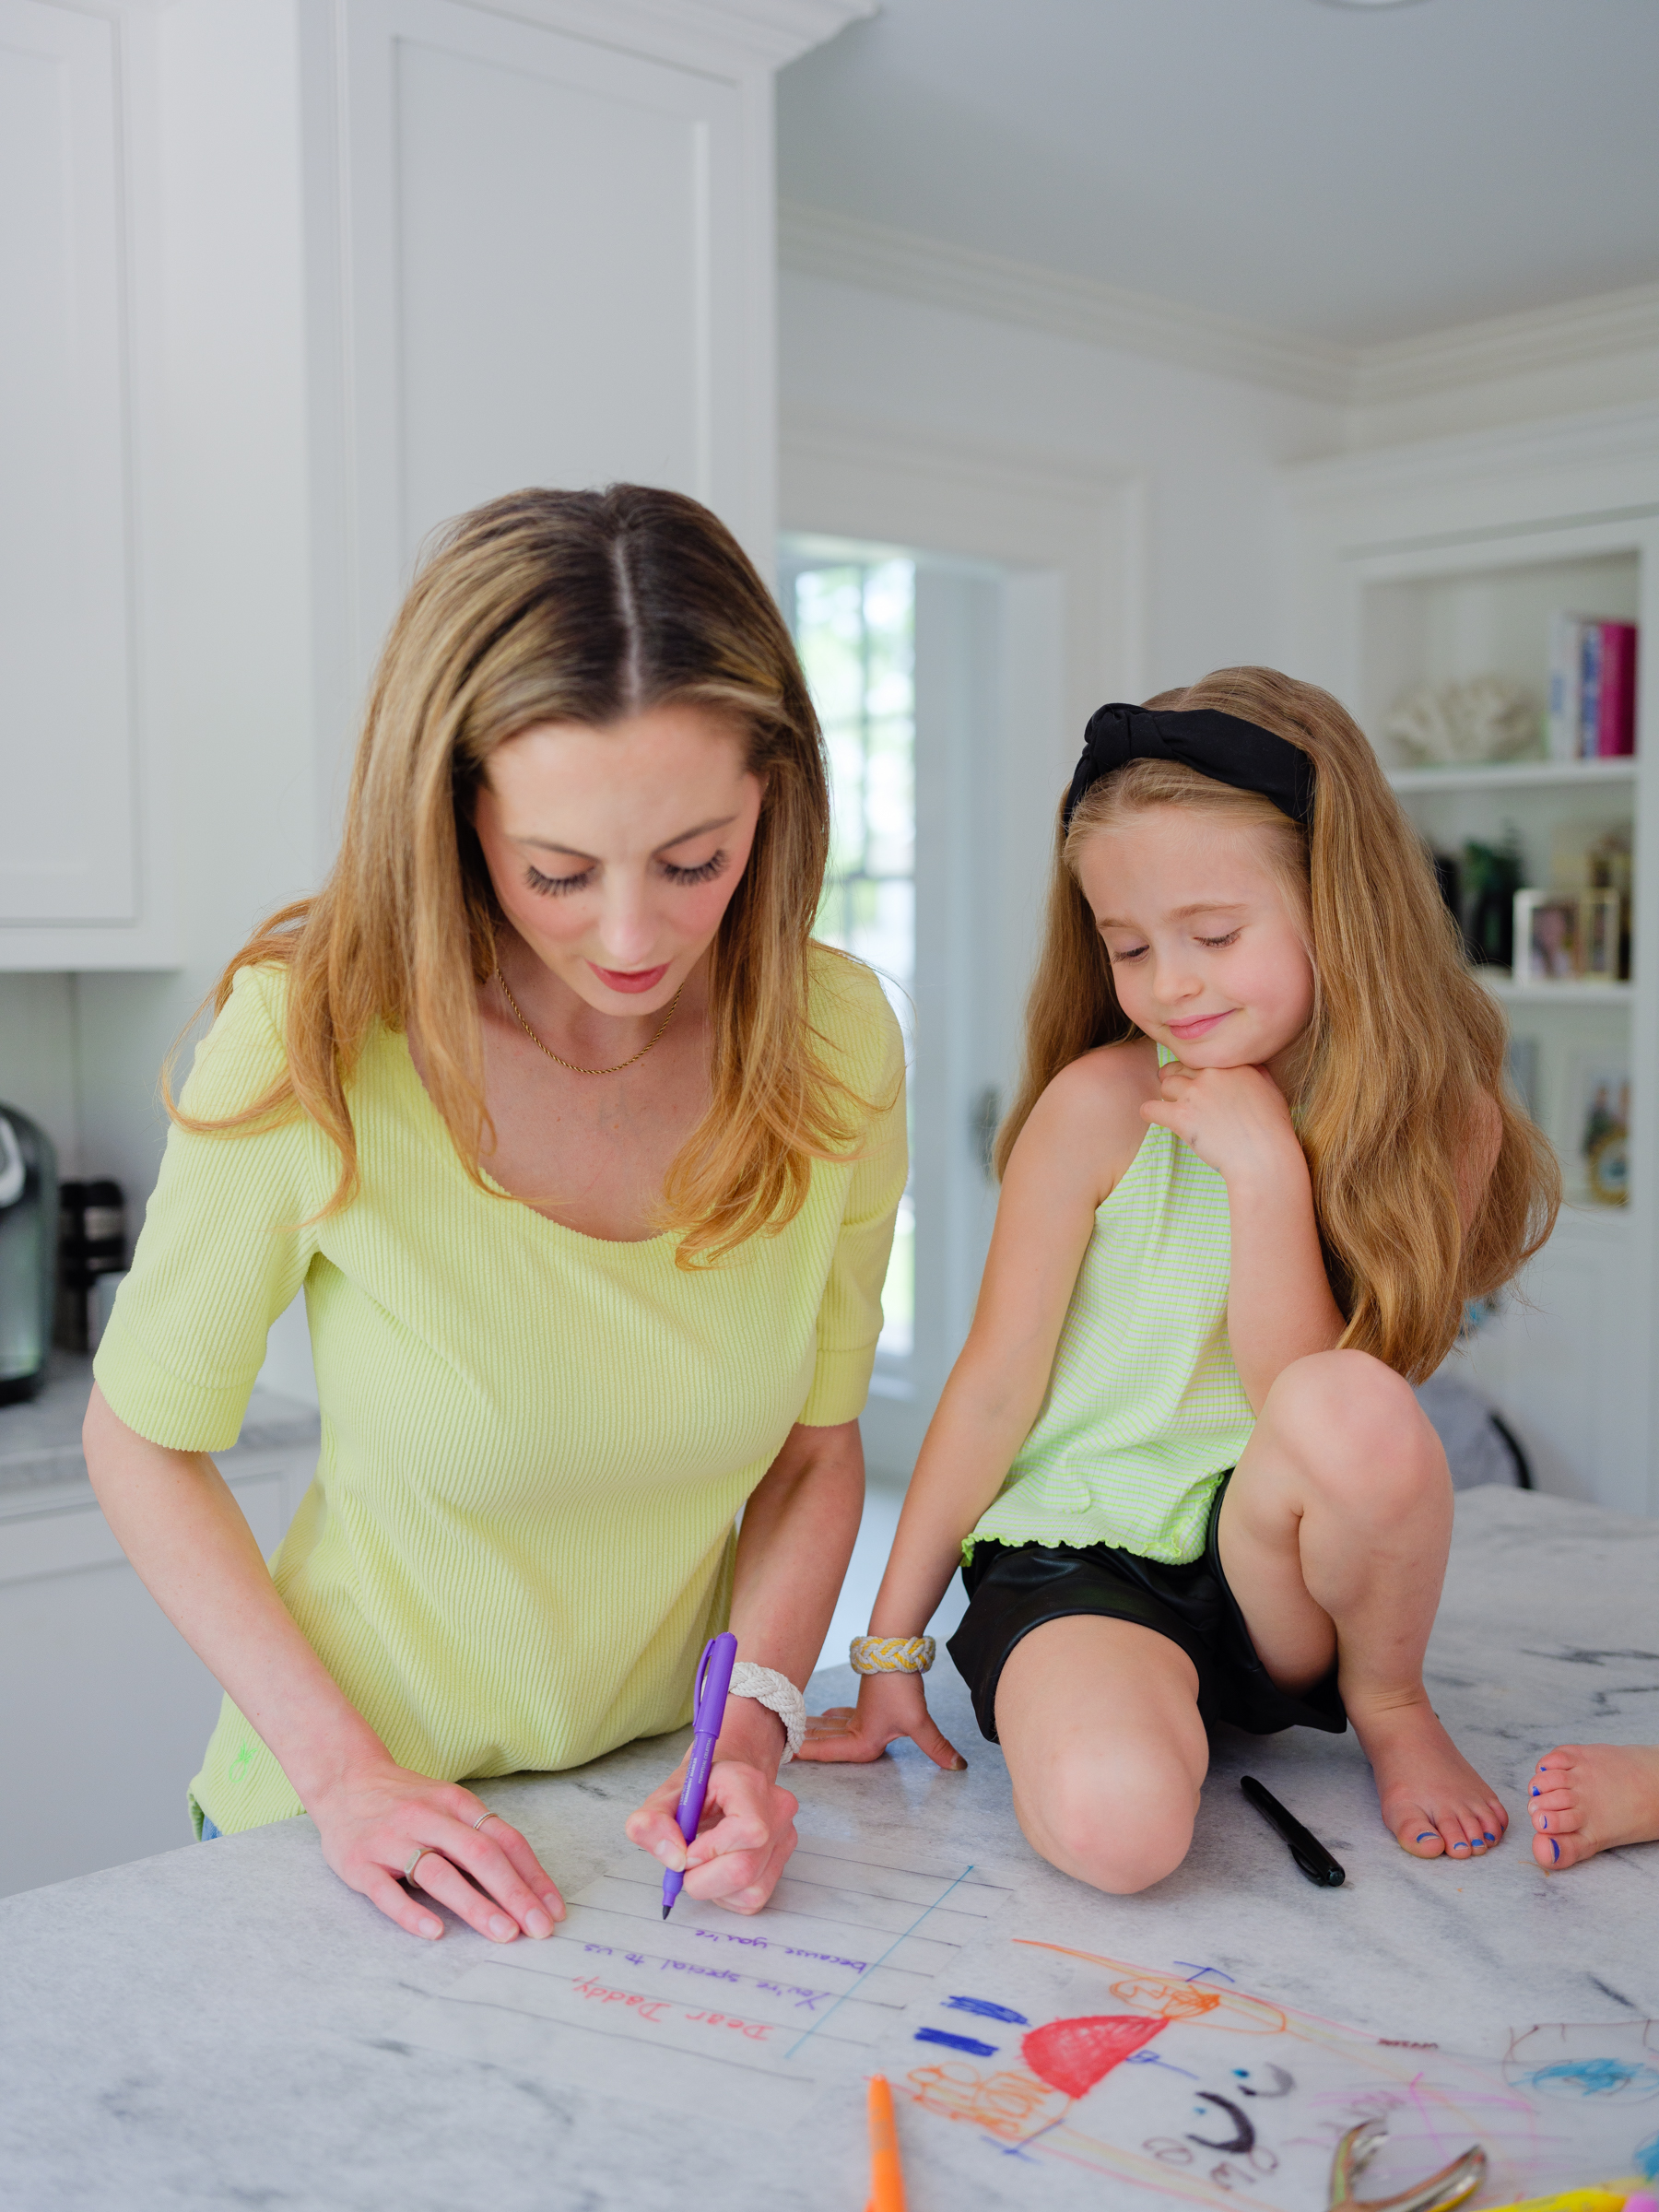
Kyle recently moved to a new home in the city, so I thought a keychain would be a nice little sentimental gift. I love using shrink dink paper for crafts because it shrinks down to a really cute size and you can store pictures, shapes, and letters in a small size. For this project, I had the kids draw a portrait of Kyle and sign his name, and then we made it into a keychain. The kids wanted to draw a big portrait, but we could make the drawing space a little smaller so that the keychain would fit in dad's pocket. We also made a “letter to dad” to keep on his desk or in the glove box. It's always so nice to hear what messages the kids want to write to their dad. I hope dad loves this gift as much as the kids enjoyed making it. I've included a link to the kit we used to make this. It was so awesome, and we got all the materials for the keychain.
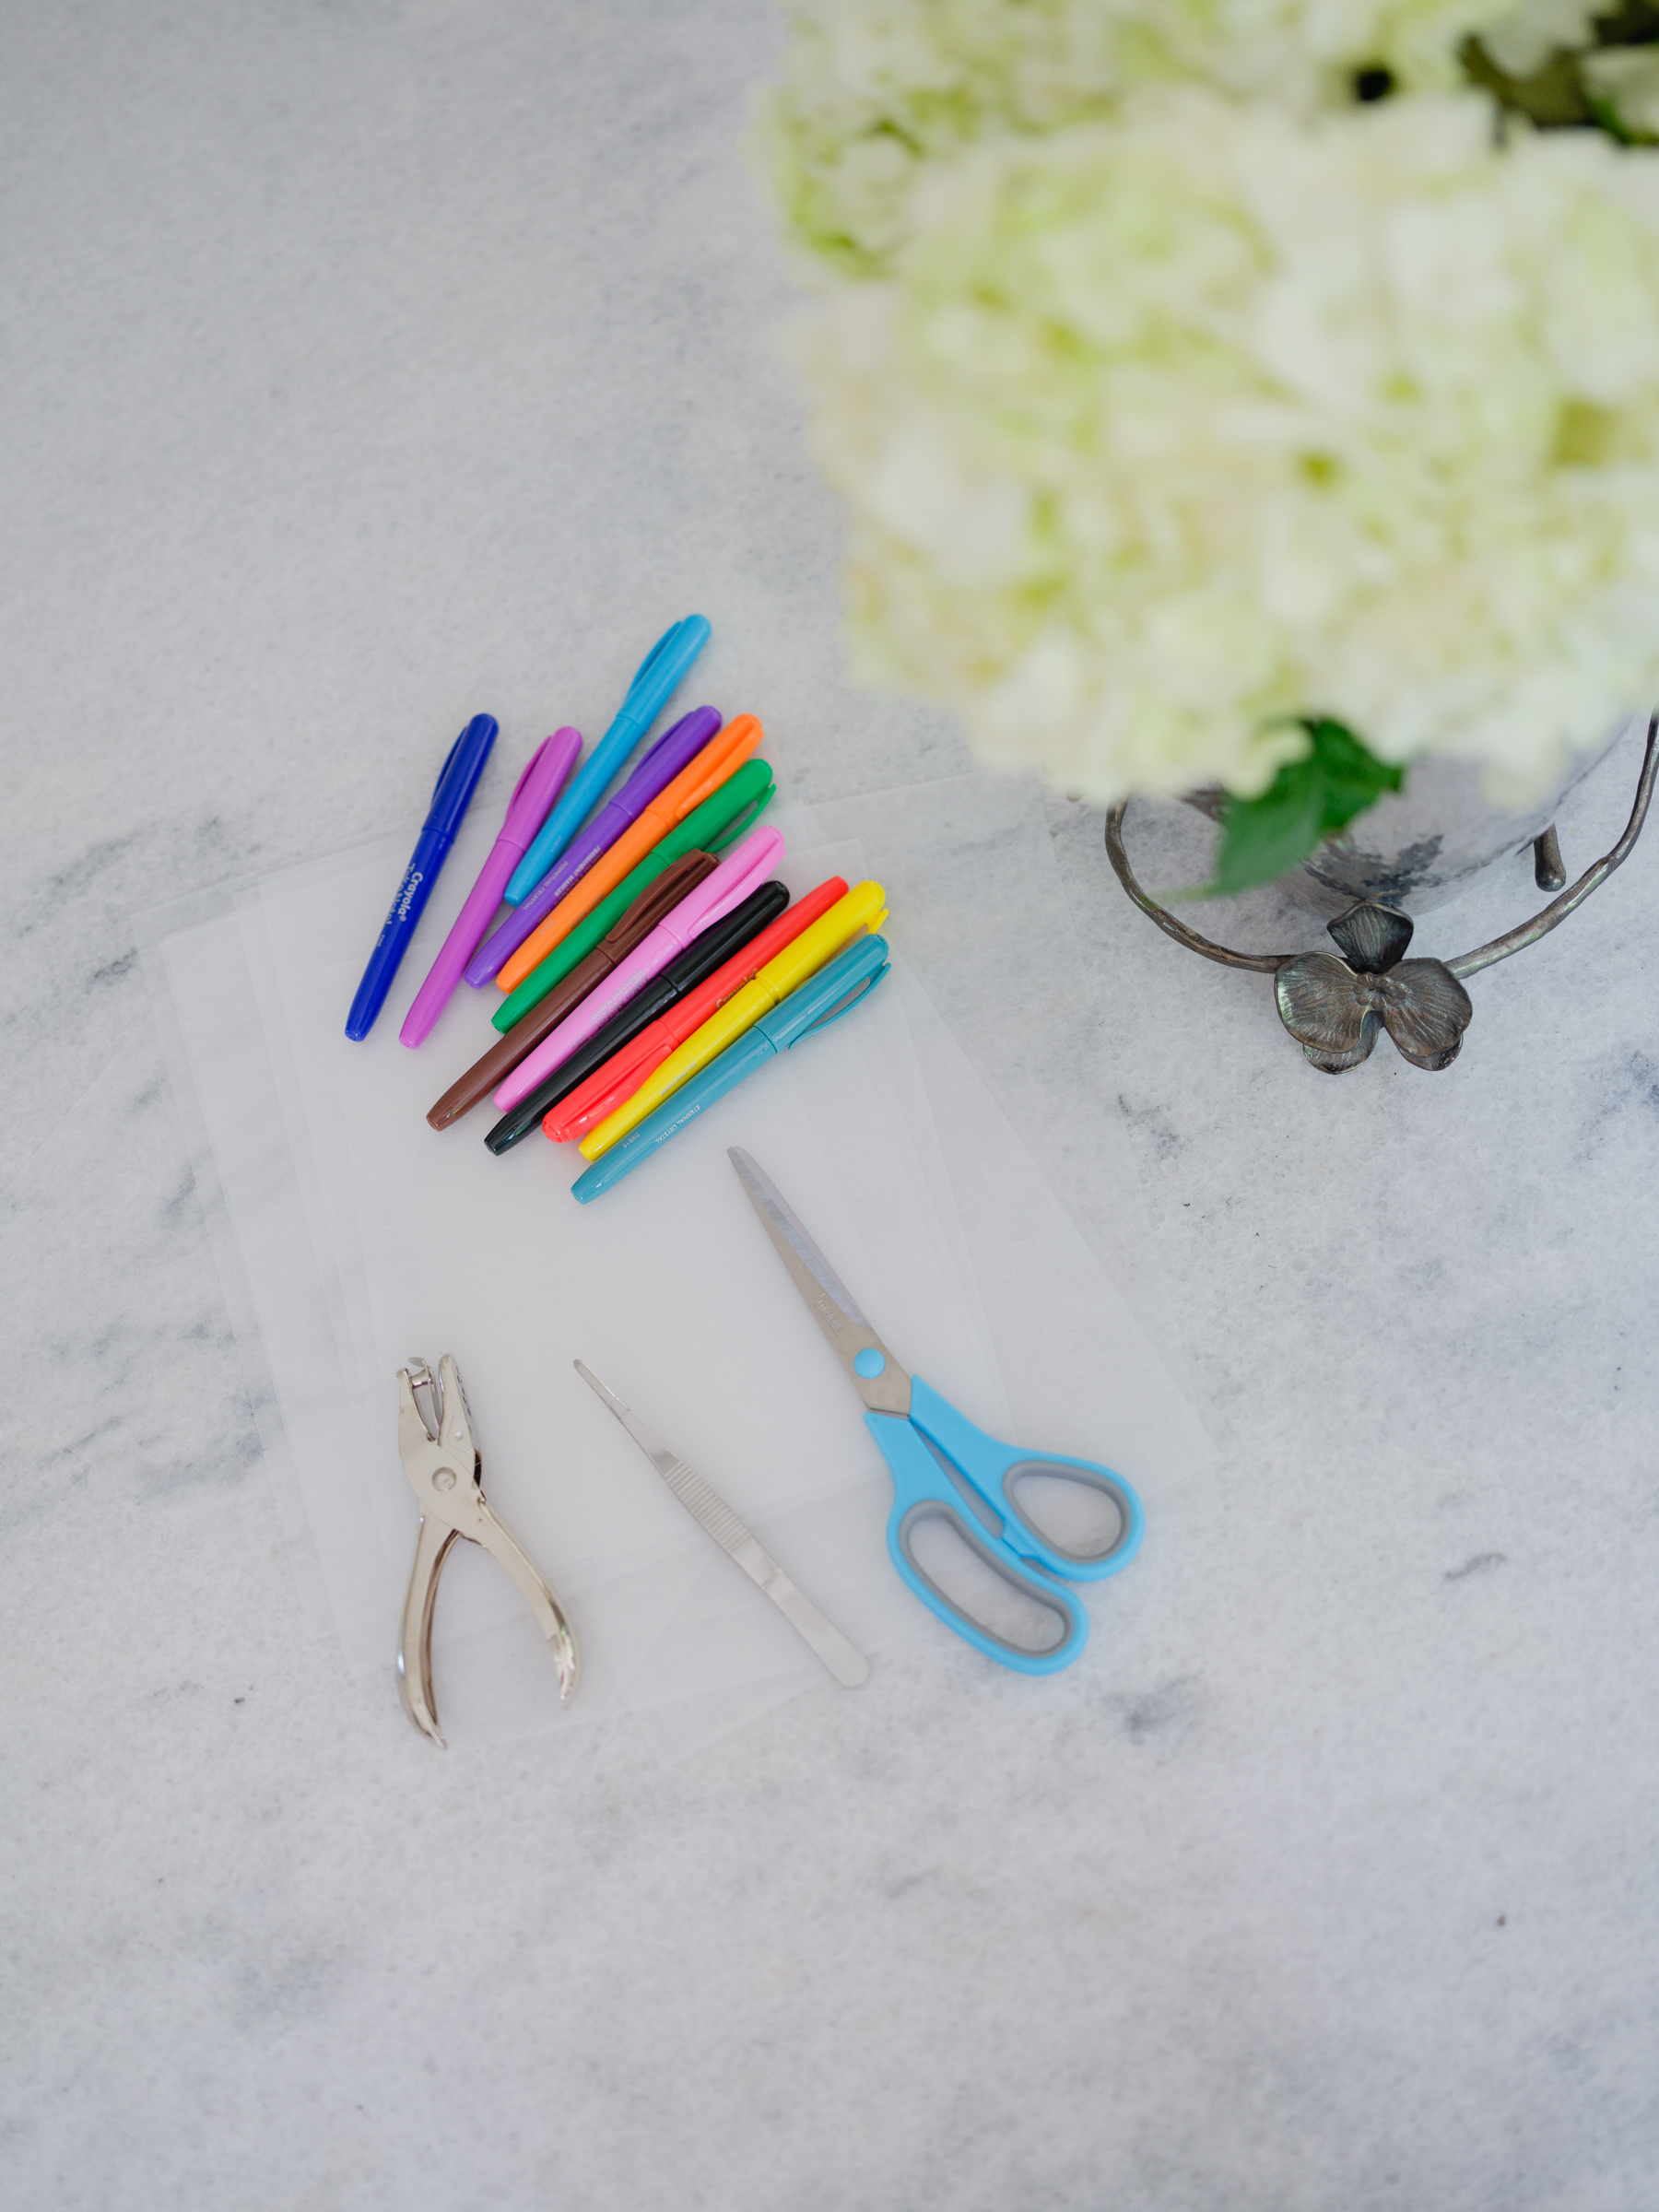
material:
step 1
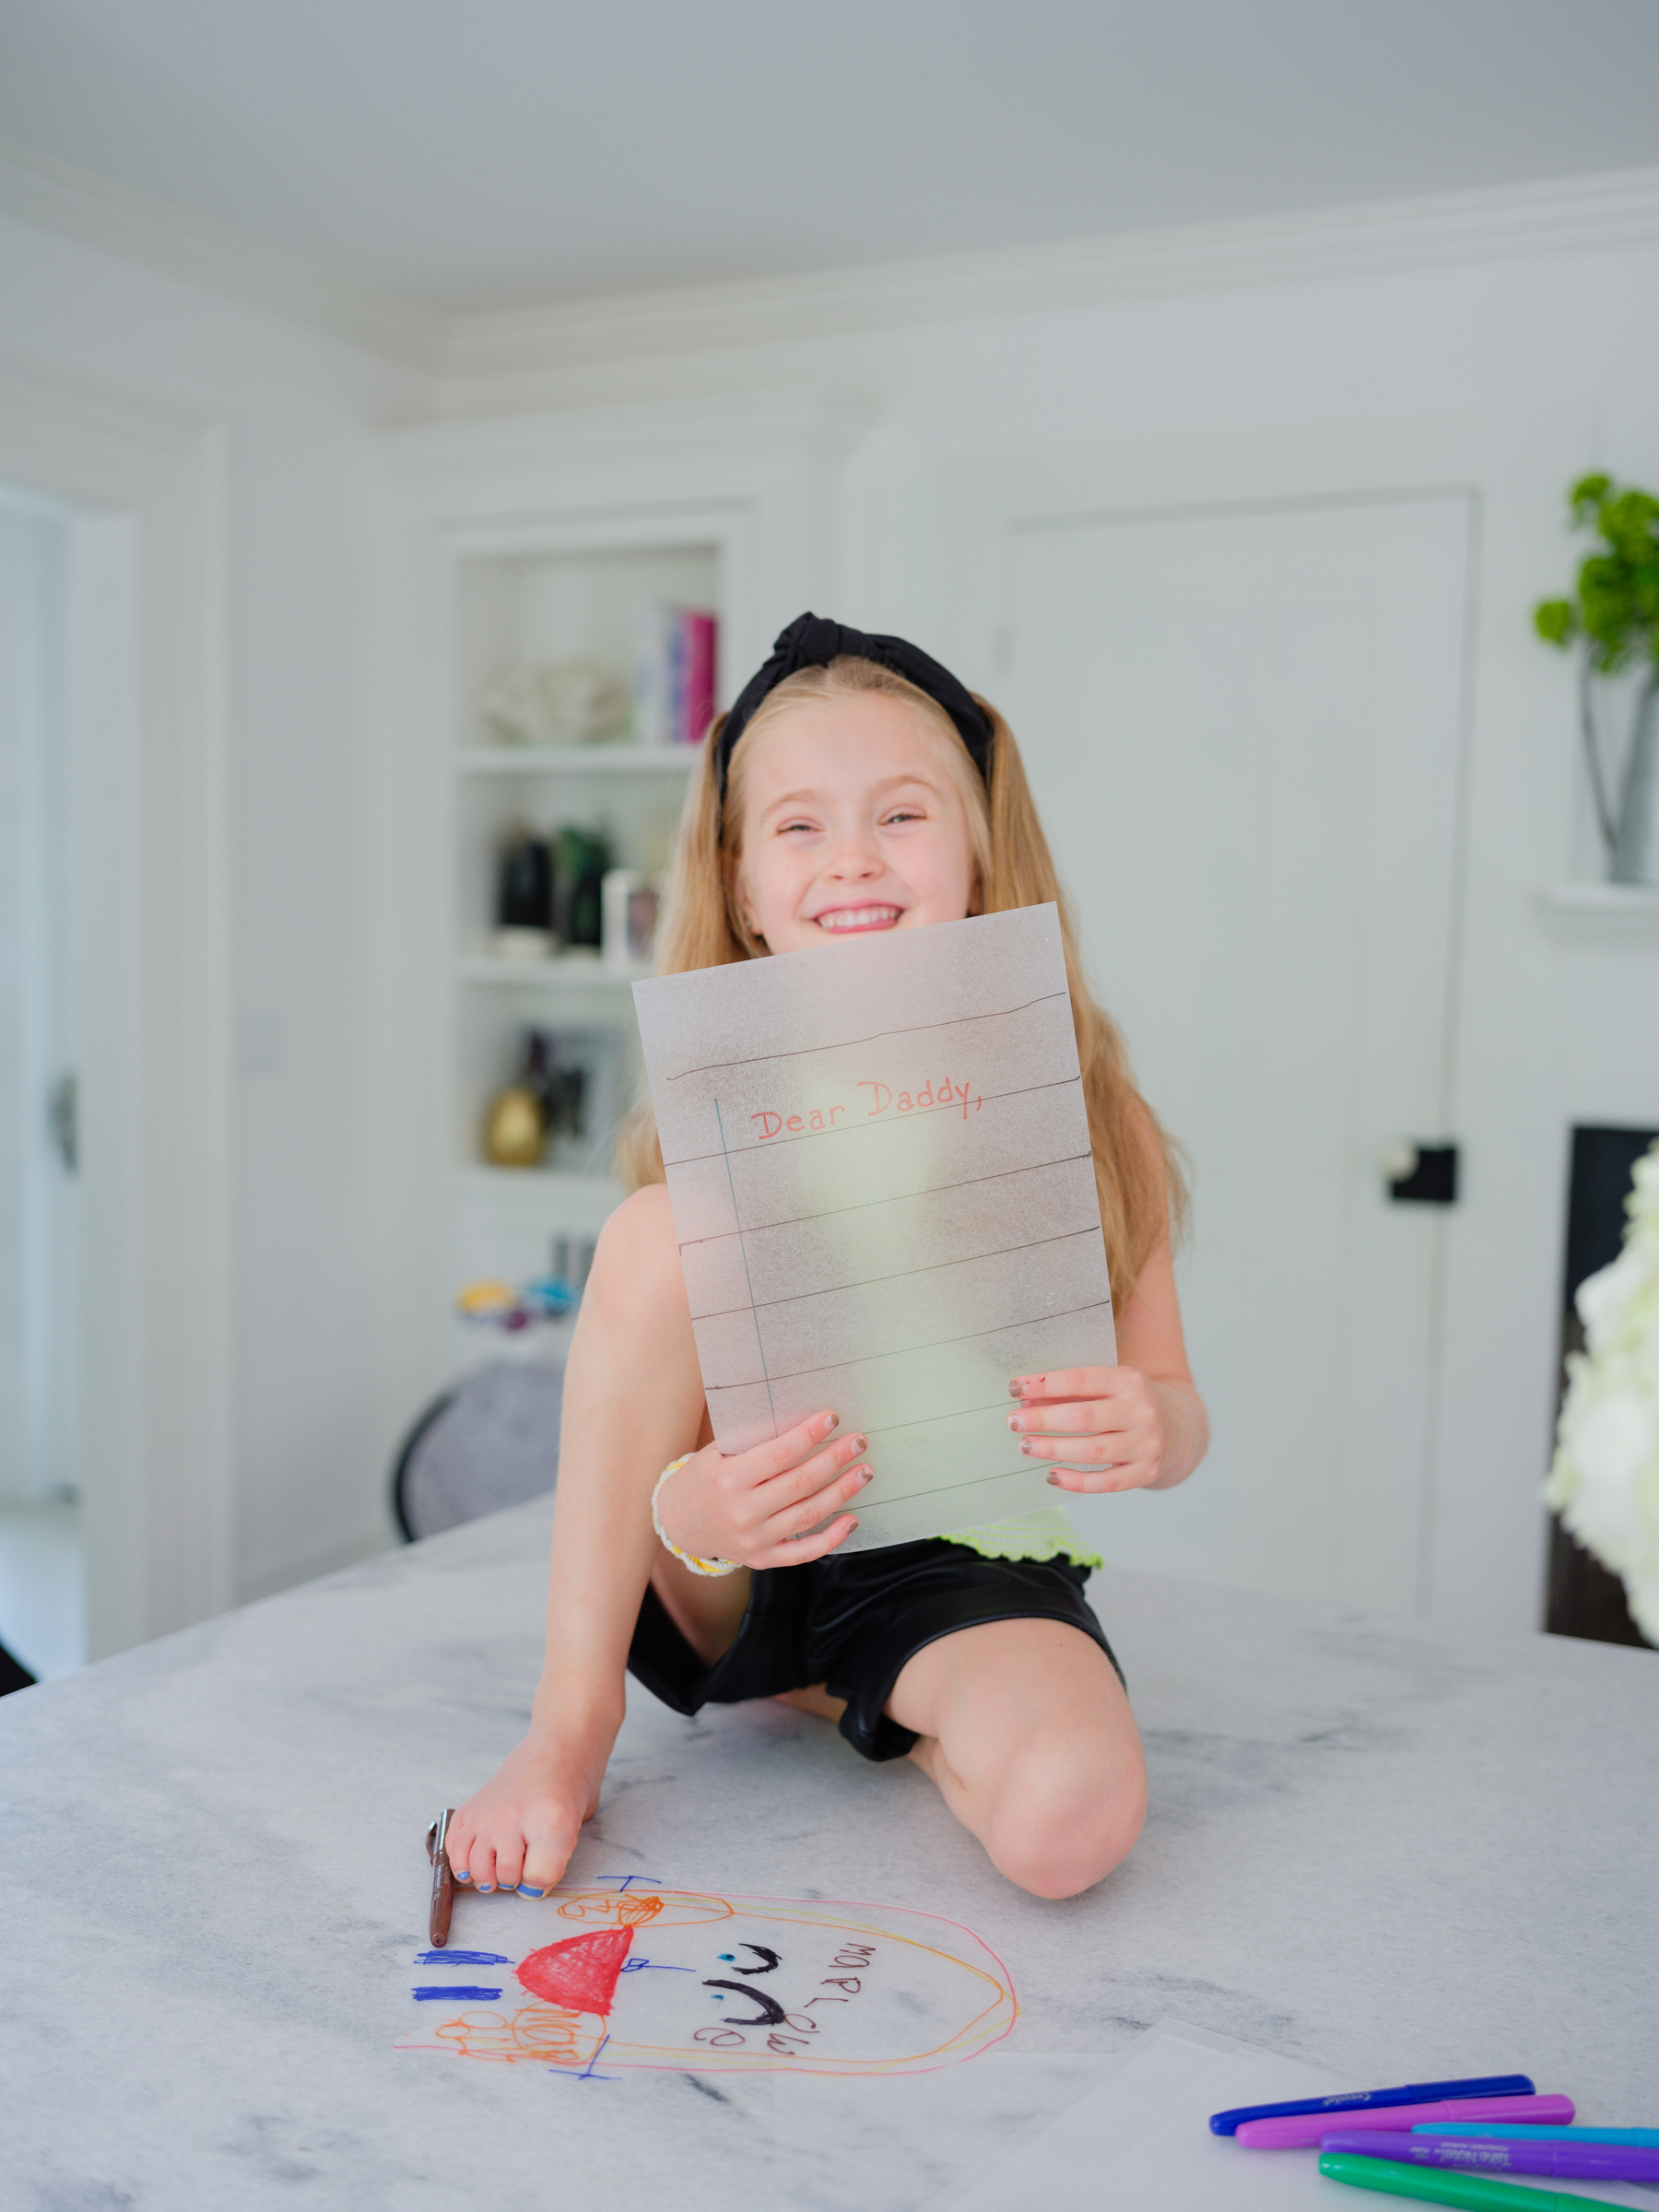
draw!
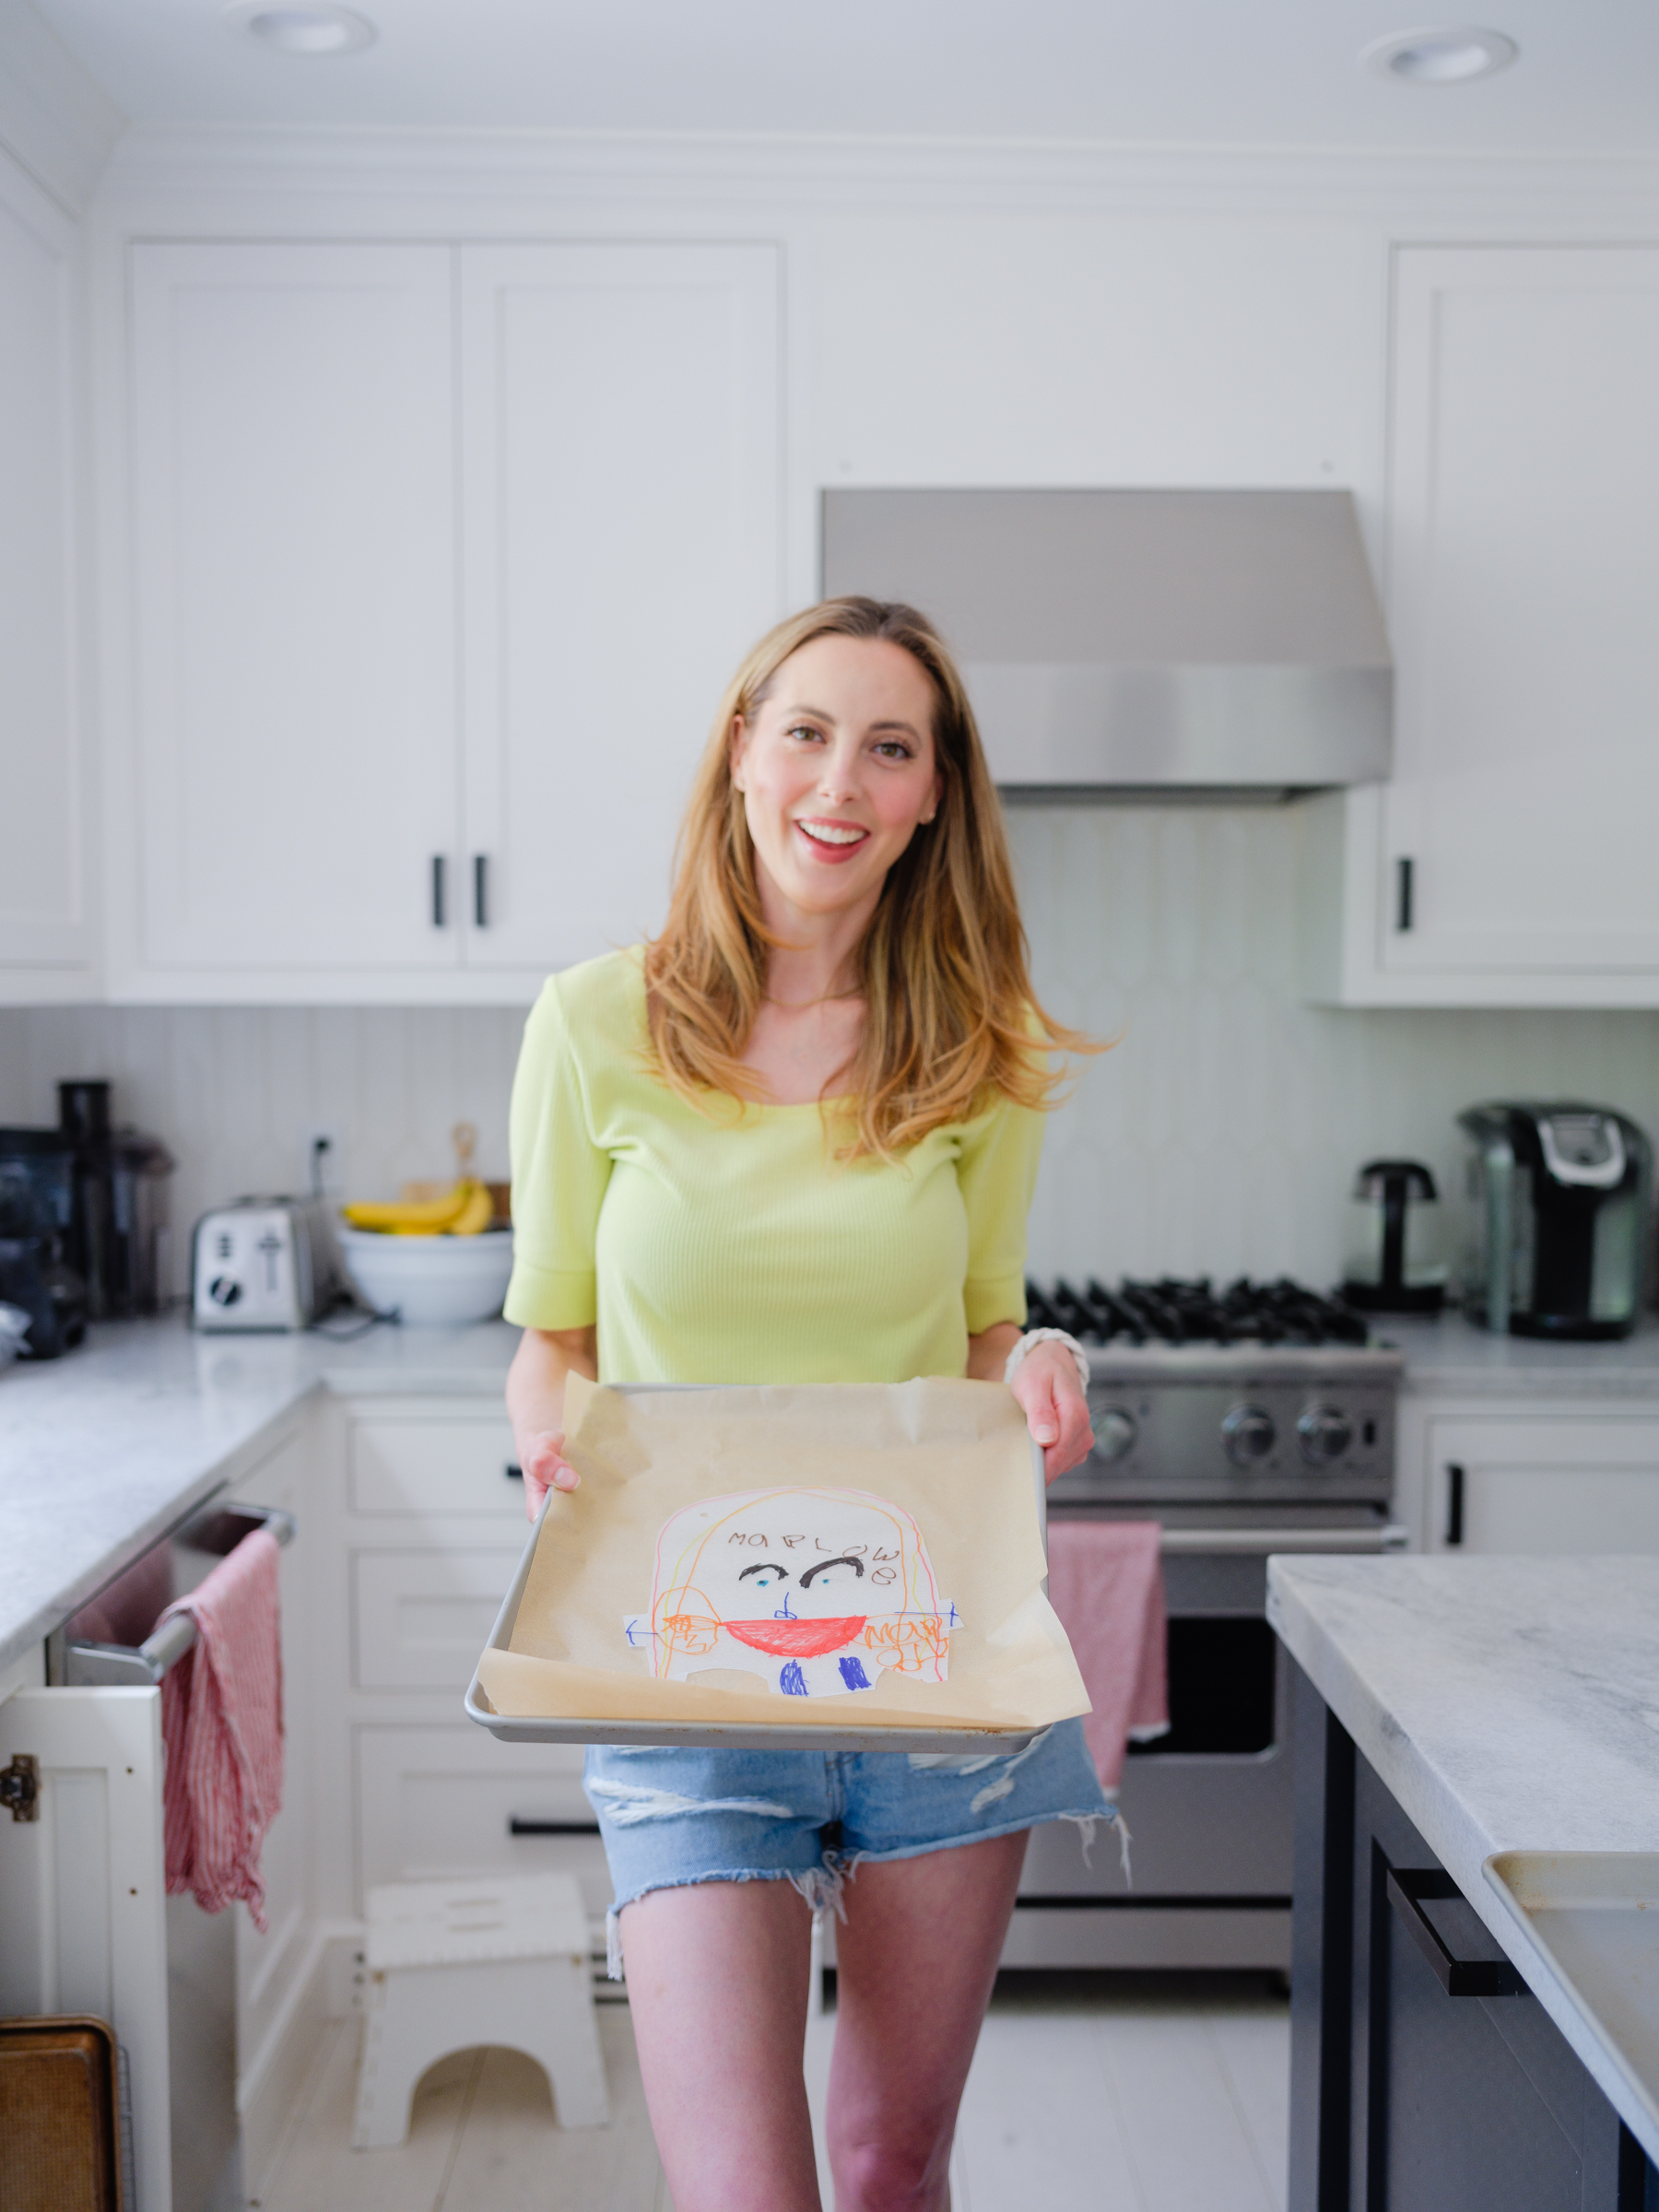
Preheat oven to 300 degrees. Prepare a cookie sheet lined with parchment paper. Have your child draw a portrait of their dad. At this stage, you can limit the size of the portrait by cutting the shrinkable dink paper into smaller pieces or cutting an oval shape for the face if desired. Using a permanent marker, draw on the matte side of the paper.
Step 2
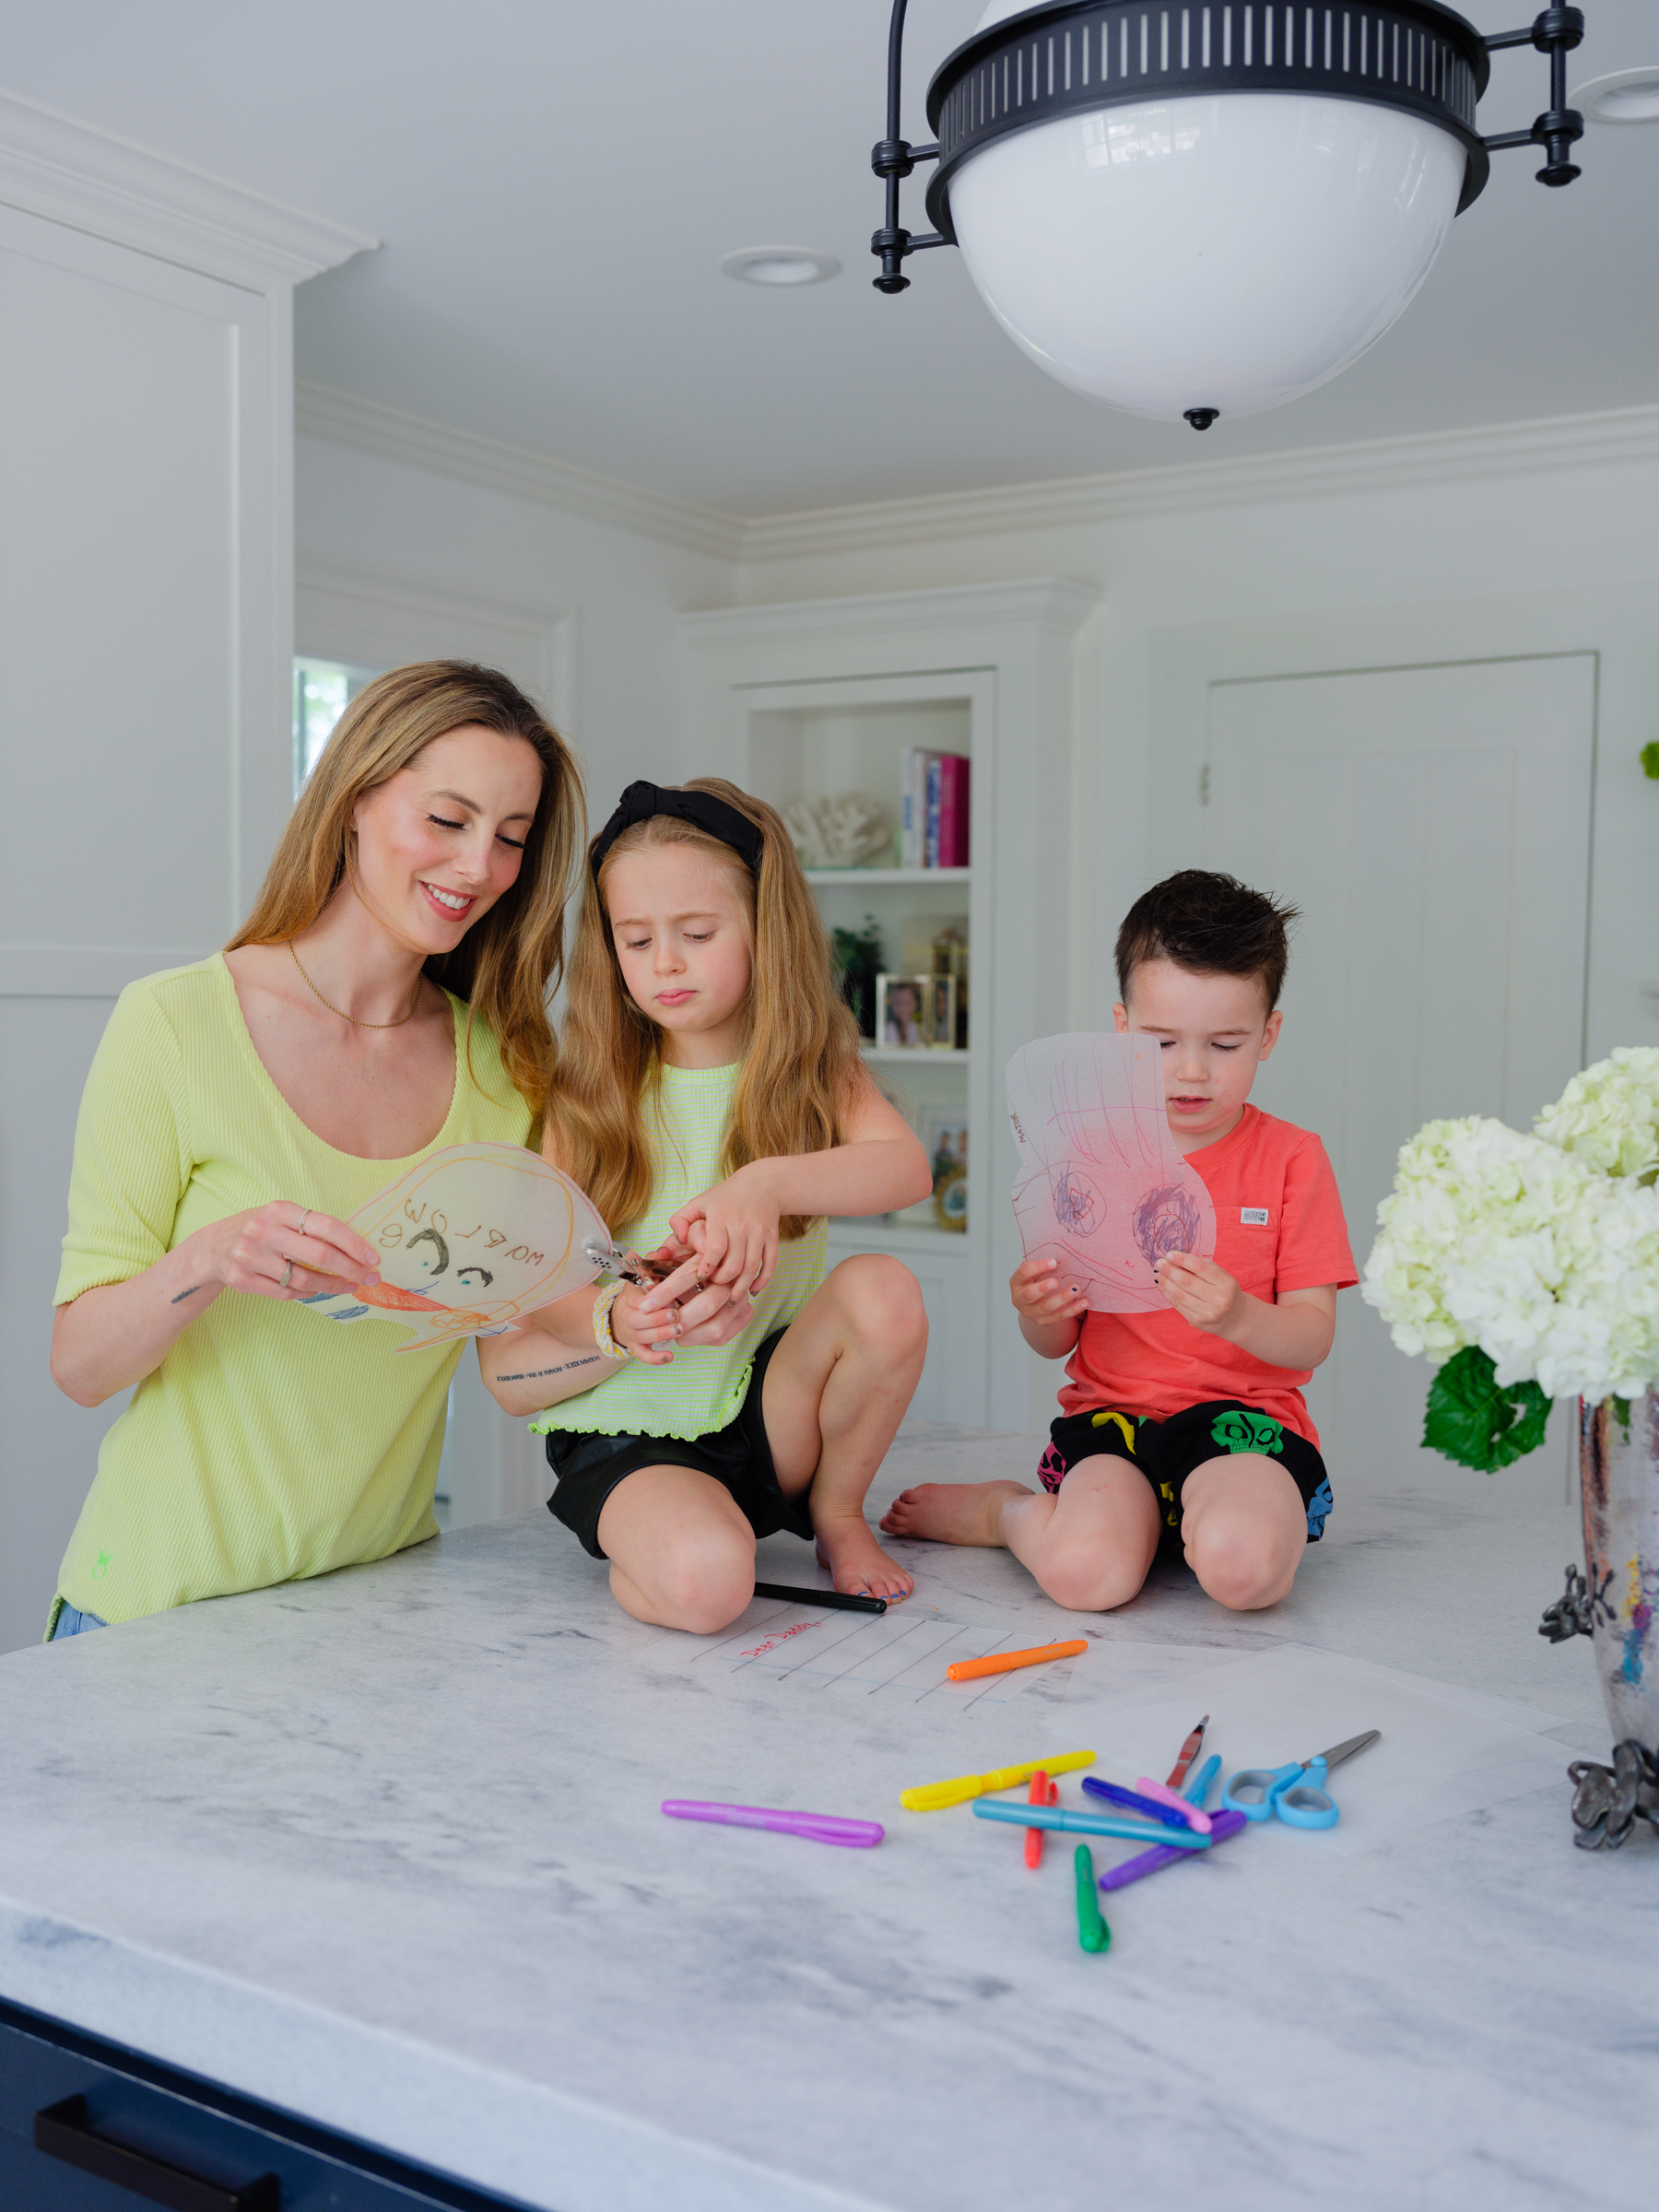
cut!
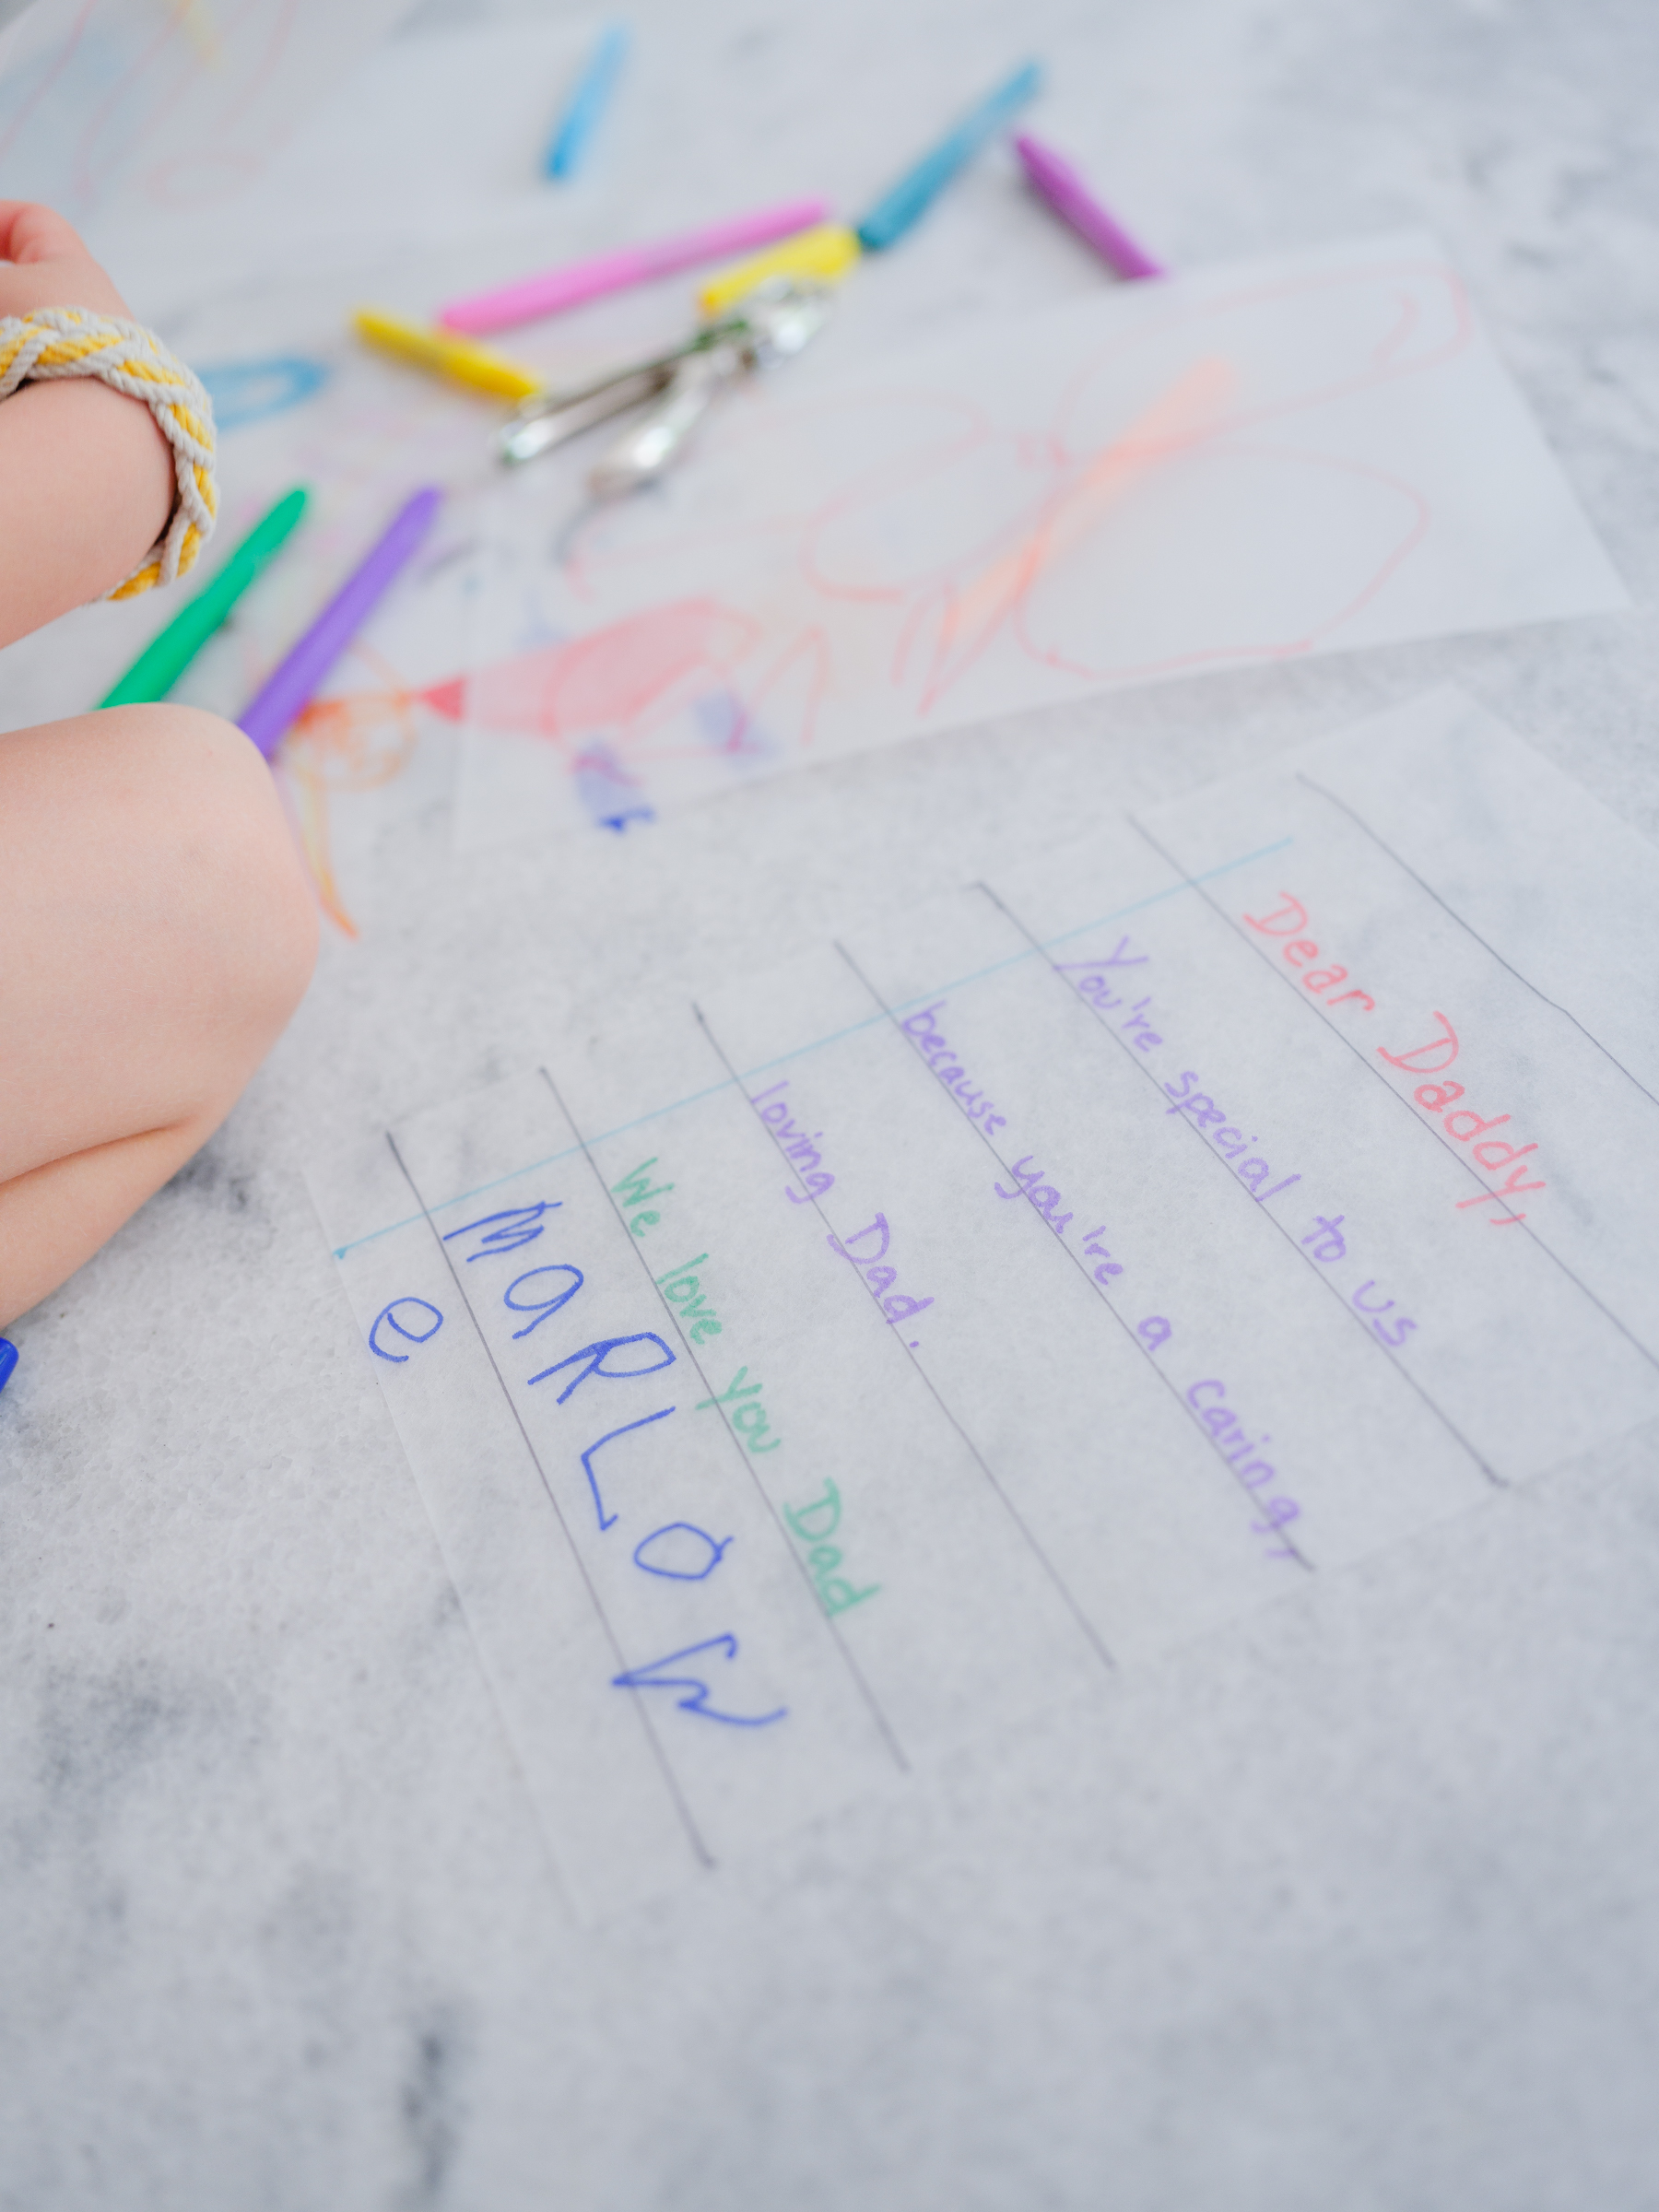
Using scissors, cut out your child's drawing and place on the prepared cookie sheet. Do not crowd the Shrink-Dink portraits. If you need to make them circular, that's fine. I also drew “lined paper” on one page of the Shrink-Dink and had the kids dictate a letter to Kyle and sign it at the bottom. Punch holes in the paper before baking. Make sure you use the hole punch fairly close to the edge so that you can easily thread your keychain device through.
Step 3
bake!
Place the cookie sheet in the oven and place the portrait, frosted side up, on top and bake for 2-3 minutes. The Shrink-Dinks will curl and then unroll as they cook. This is OK – don't panic – just wait until they're done cooking. If they're still curled after 3 minutes, remove the cookie sheet from the oven and, using tweezers, gently unroll the curled sections, pressing the edges to make them as flat as possible.
Step 4
Add a keychain!
Allow to cool completely before adding any additional keychain pieces. Enjoy!