


If you're short on time, you may need to create your own rigging tools. I had a fishing trip coming up in a few days, and I lost the PR knot bobbin I was using to rig the wind-on leader. So I decided to not be out of luck and create my own His Wind-On Leader Serving Bobbin using some PVC fittings and other parts I picked up at a local hardware store. To make this DIY wind-on leader serving bobbin, you only need one power tool, a cordless drill, and a drill bit.
OutdoorHub's DIY articles
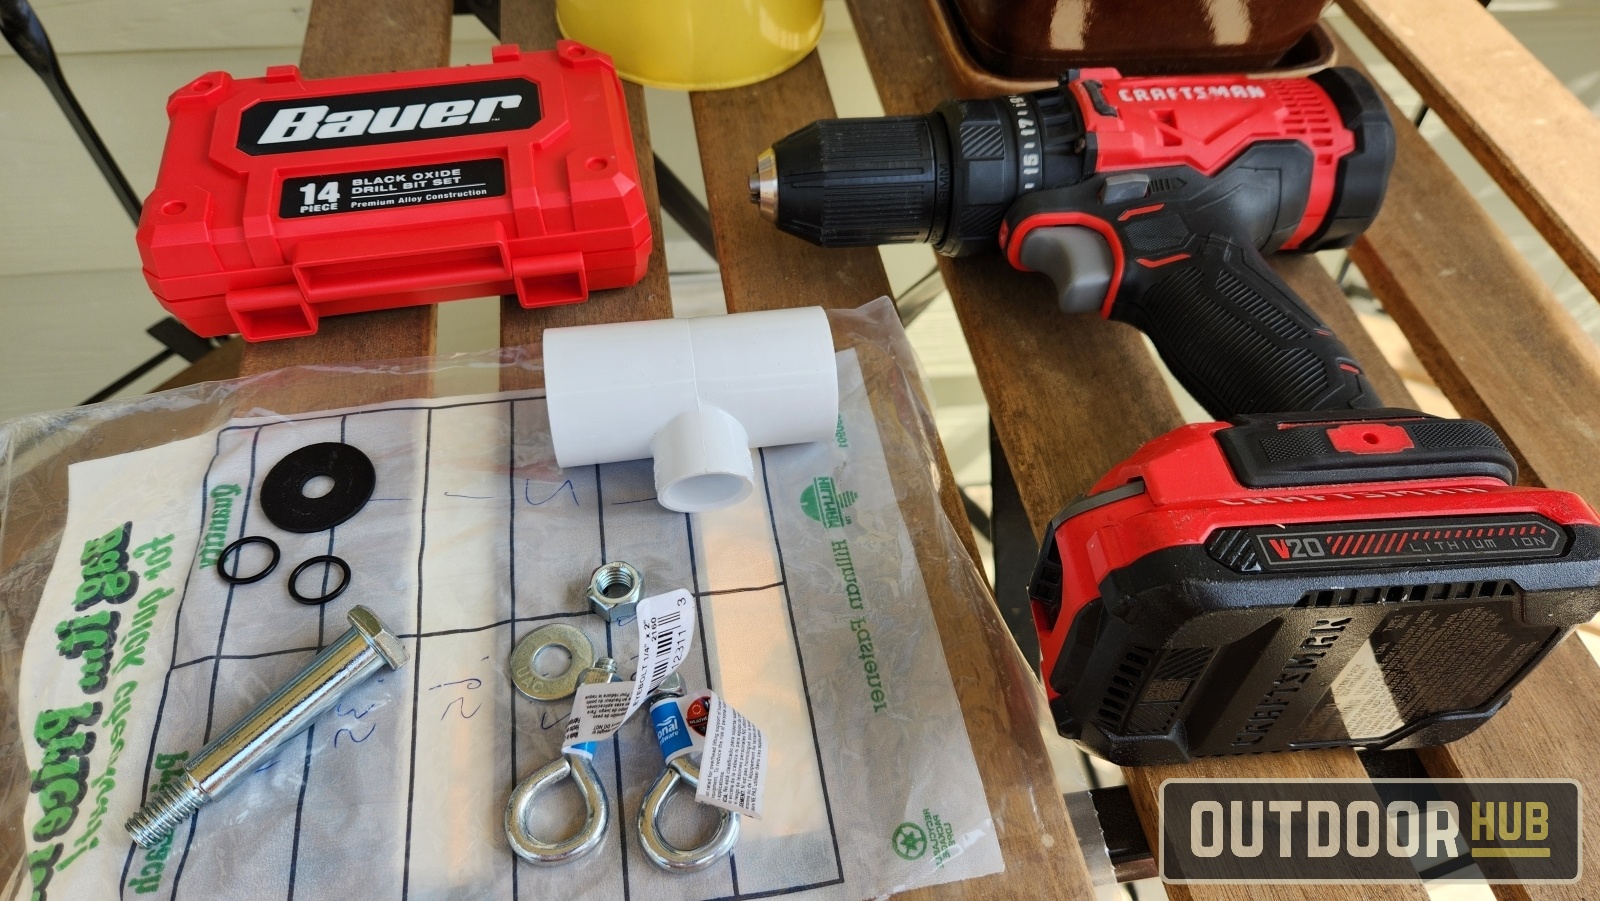
To make this, I purchased 1 1″ to 1/4″ reducing tee, 2 threaded eyebolts, 1 axle bolt and nut, 1 washer, 1 rubber washer, and 2 rubber o-rings. did. You could probably use a 1/4 inch T PVC fitting instead of the reducing, but I used eye bolts and axle bolts for it. If your hardware store has other bolt options, choose the smaller PVC fittings.
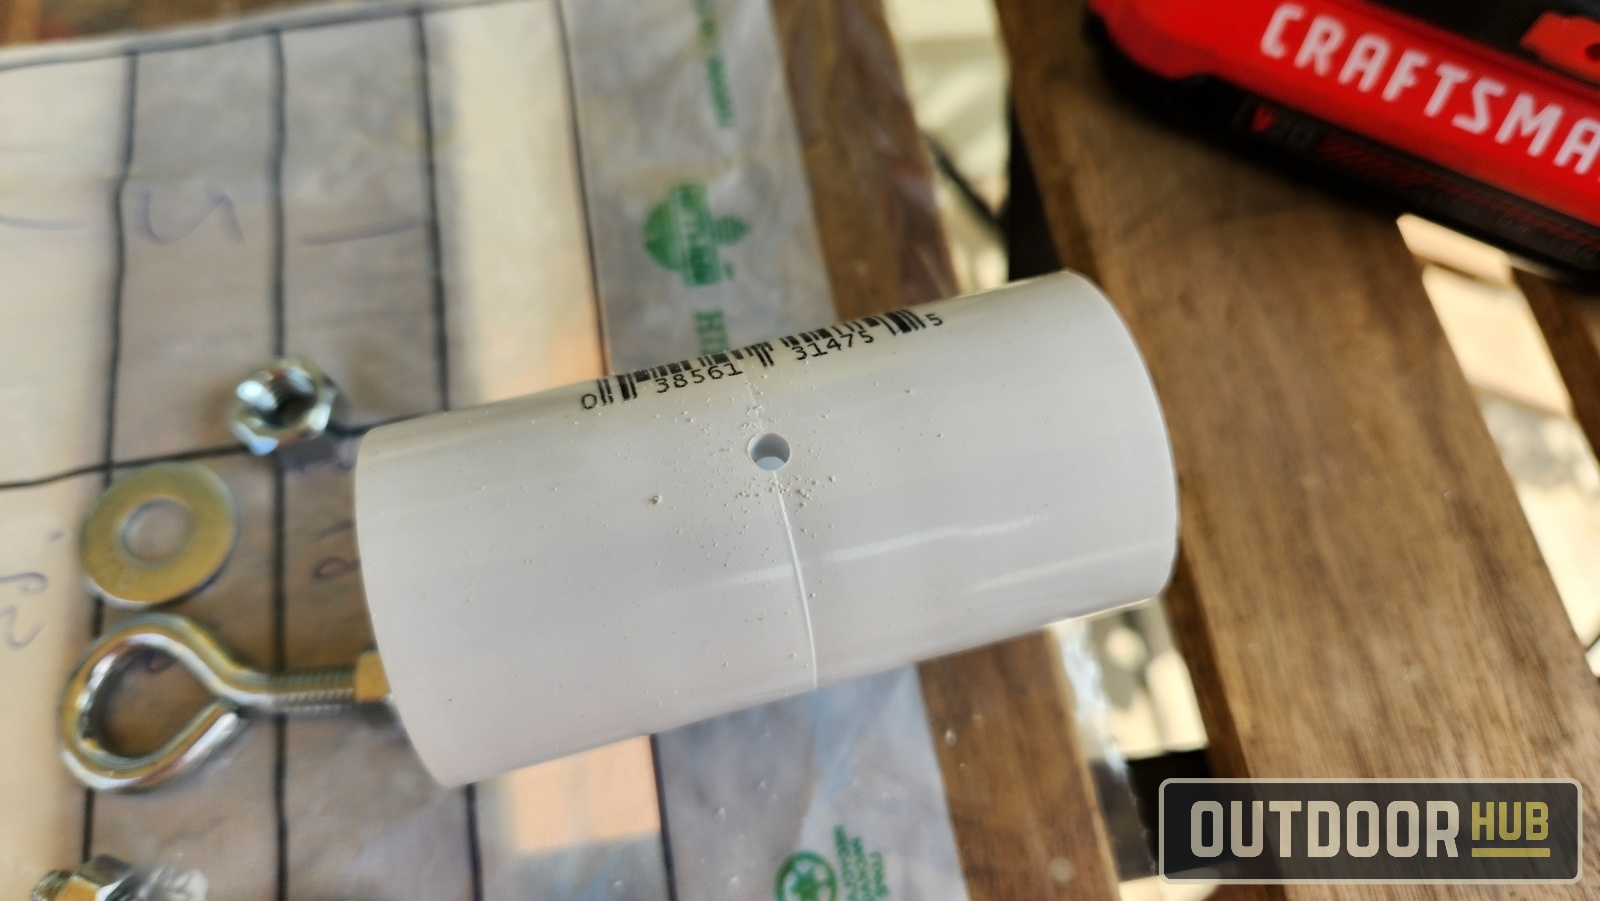
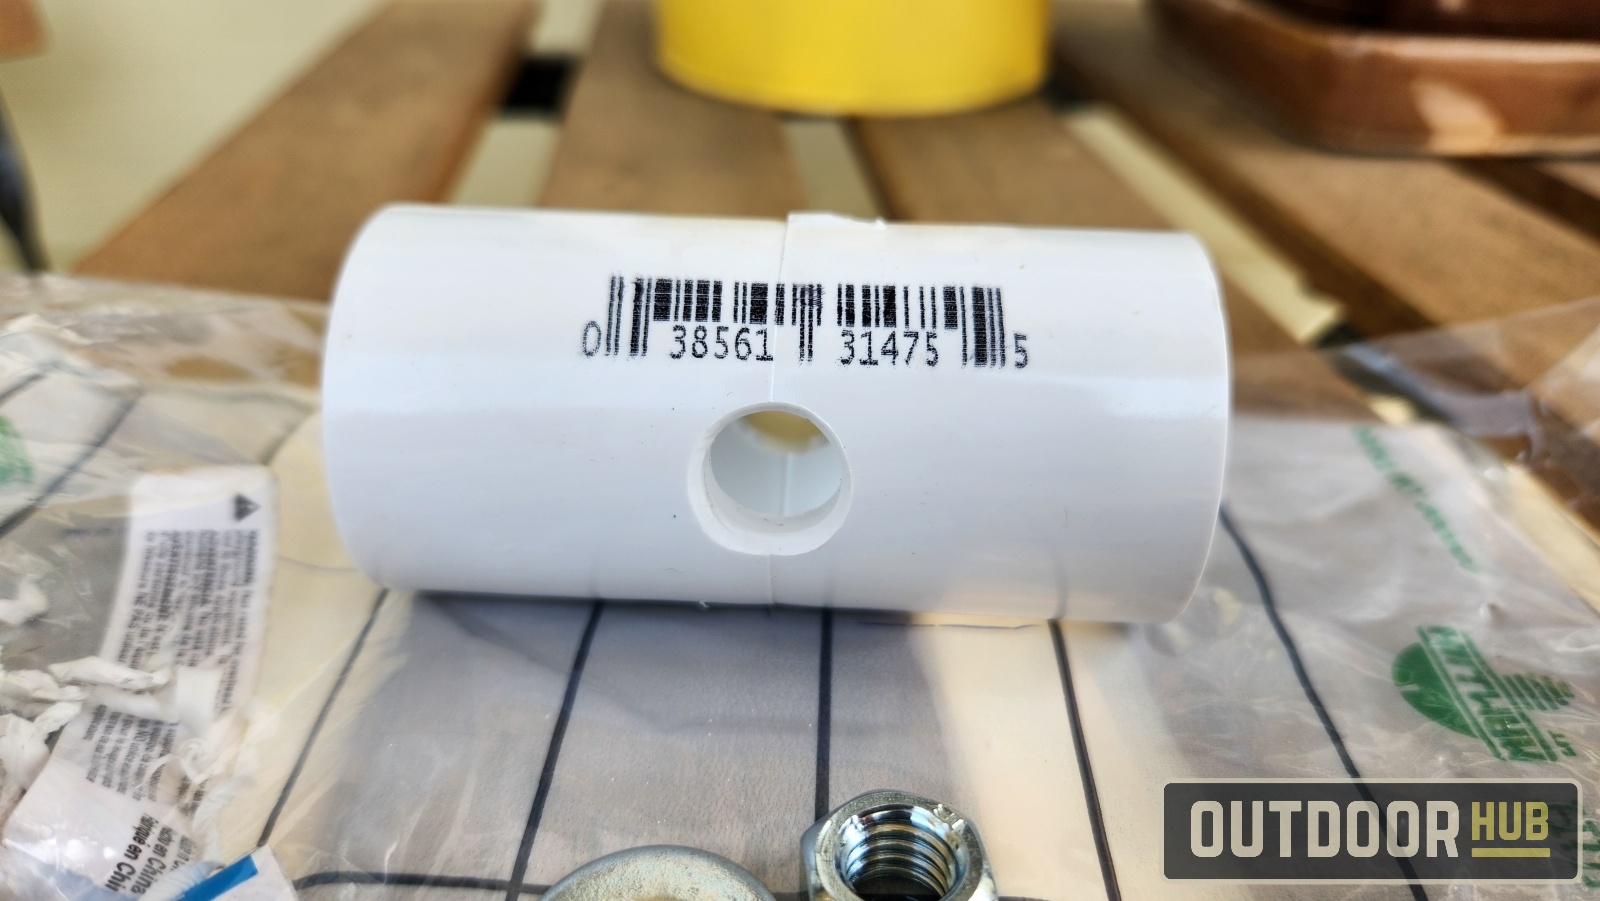
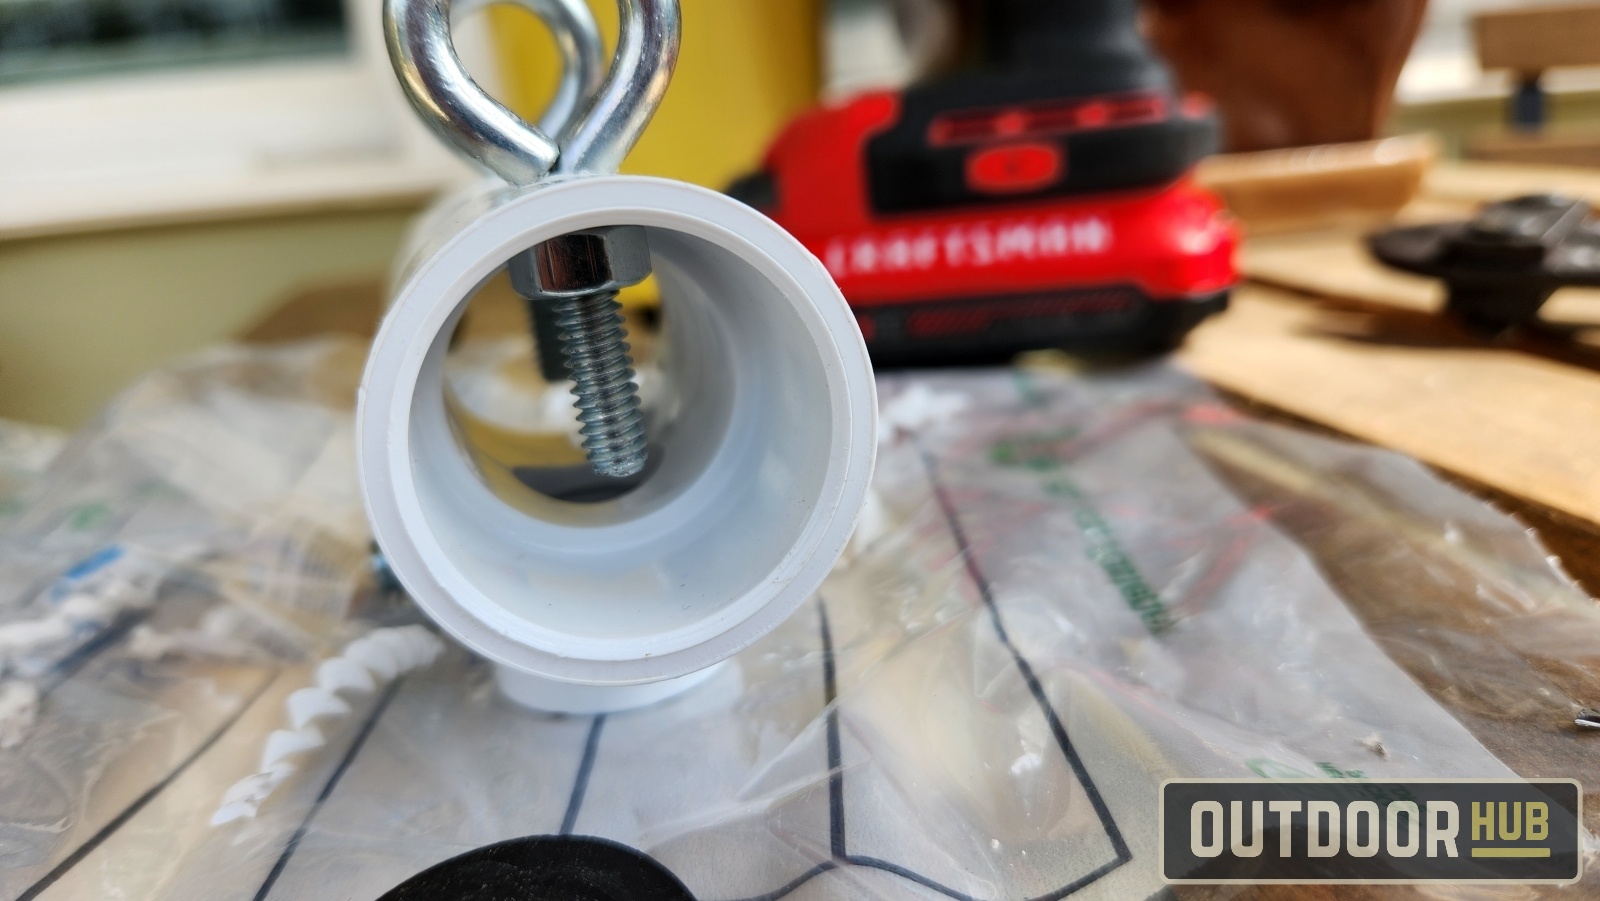
The first step is to drill a small pilot hole in the center of the “T” PVC fitting. I would like to gradually increase the size of the drill bit so that the PVC doesn't grab the drill bit and cause injury. However, if you have a vise or drill press and can secure the T-piece, you can skip this step. If you have these tools, you can start with the largest drill bit without any worries. Be sure to deburr the hole after drilling.
The next step is to drill holes for the two eyebolts in the PVC pipe fitting. To finalize where to drill the holes in the PVC pipe, I installed an eye bolt on the axle bolt. Next, he drilled two small holes large enough to accommodate the eye bolts.
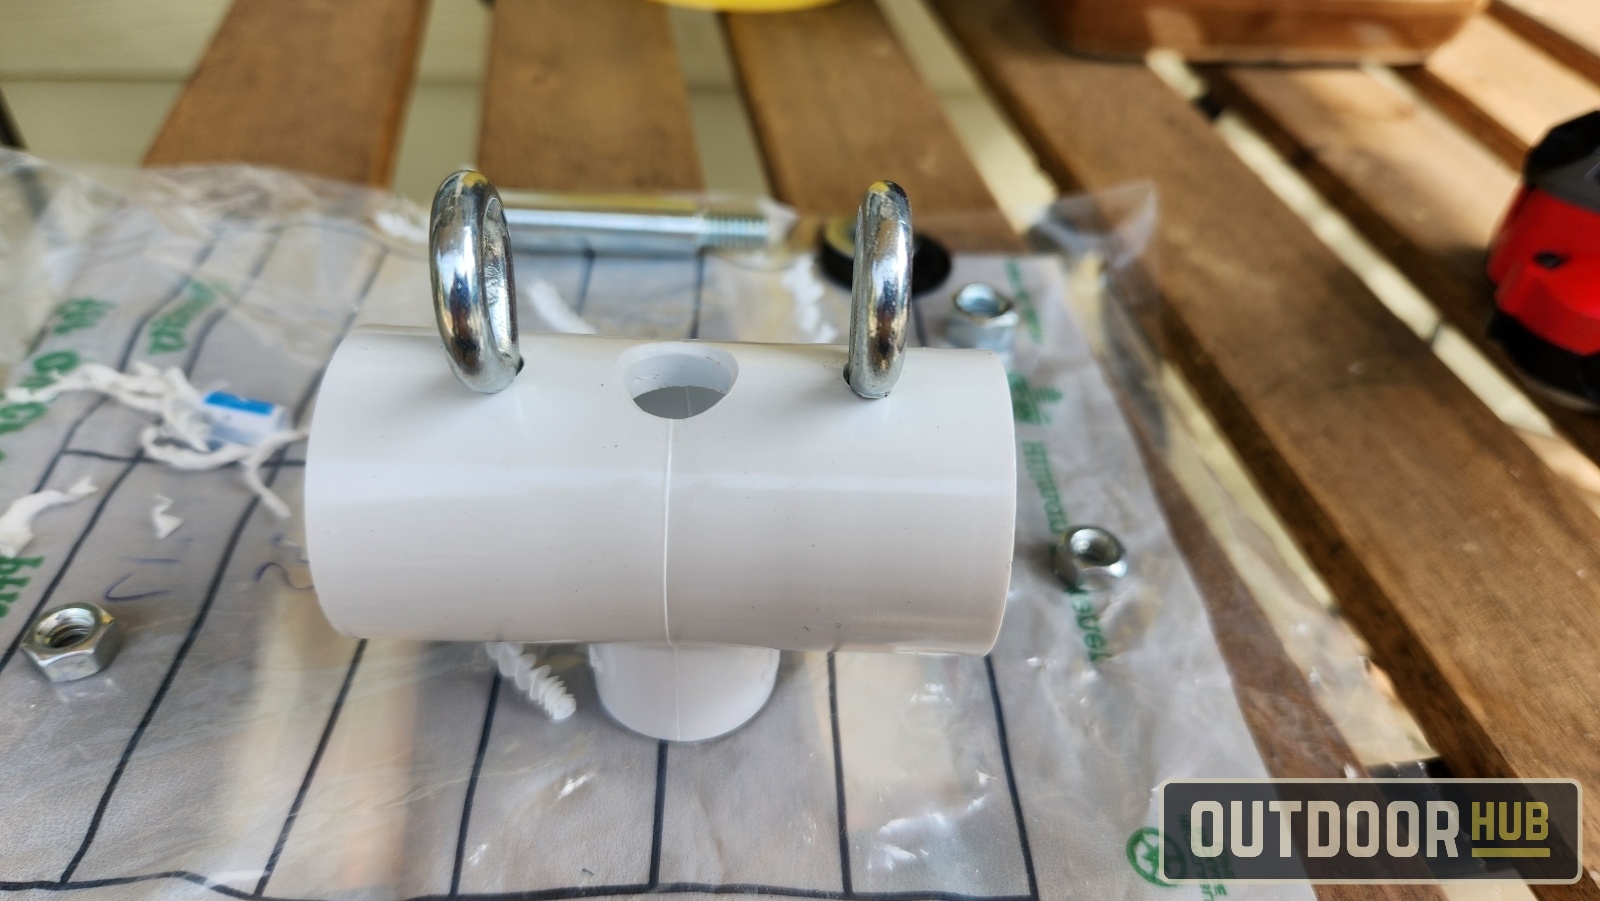
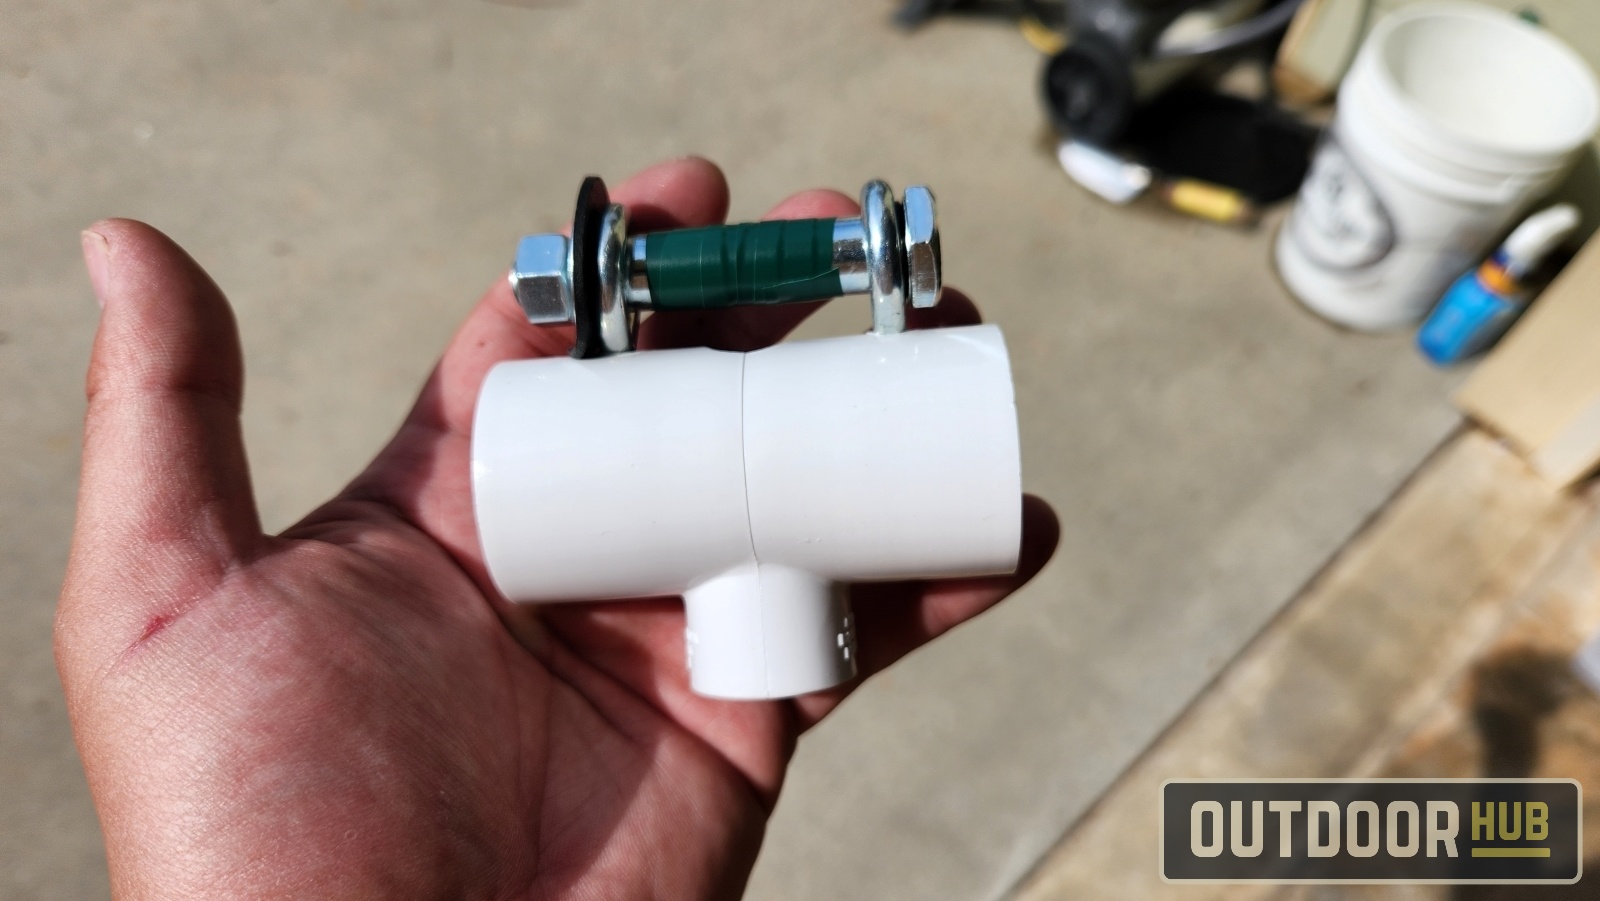
Eyebolts – Disassemble the axle bolt setup and place the eyebolts in the drilled holes. Secure the eyebolt in place using the supplied nut.

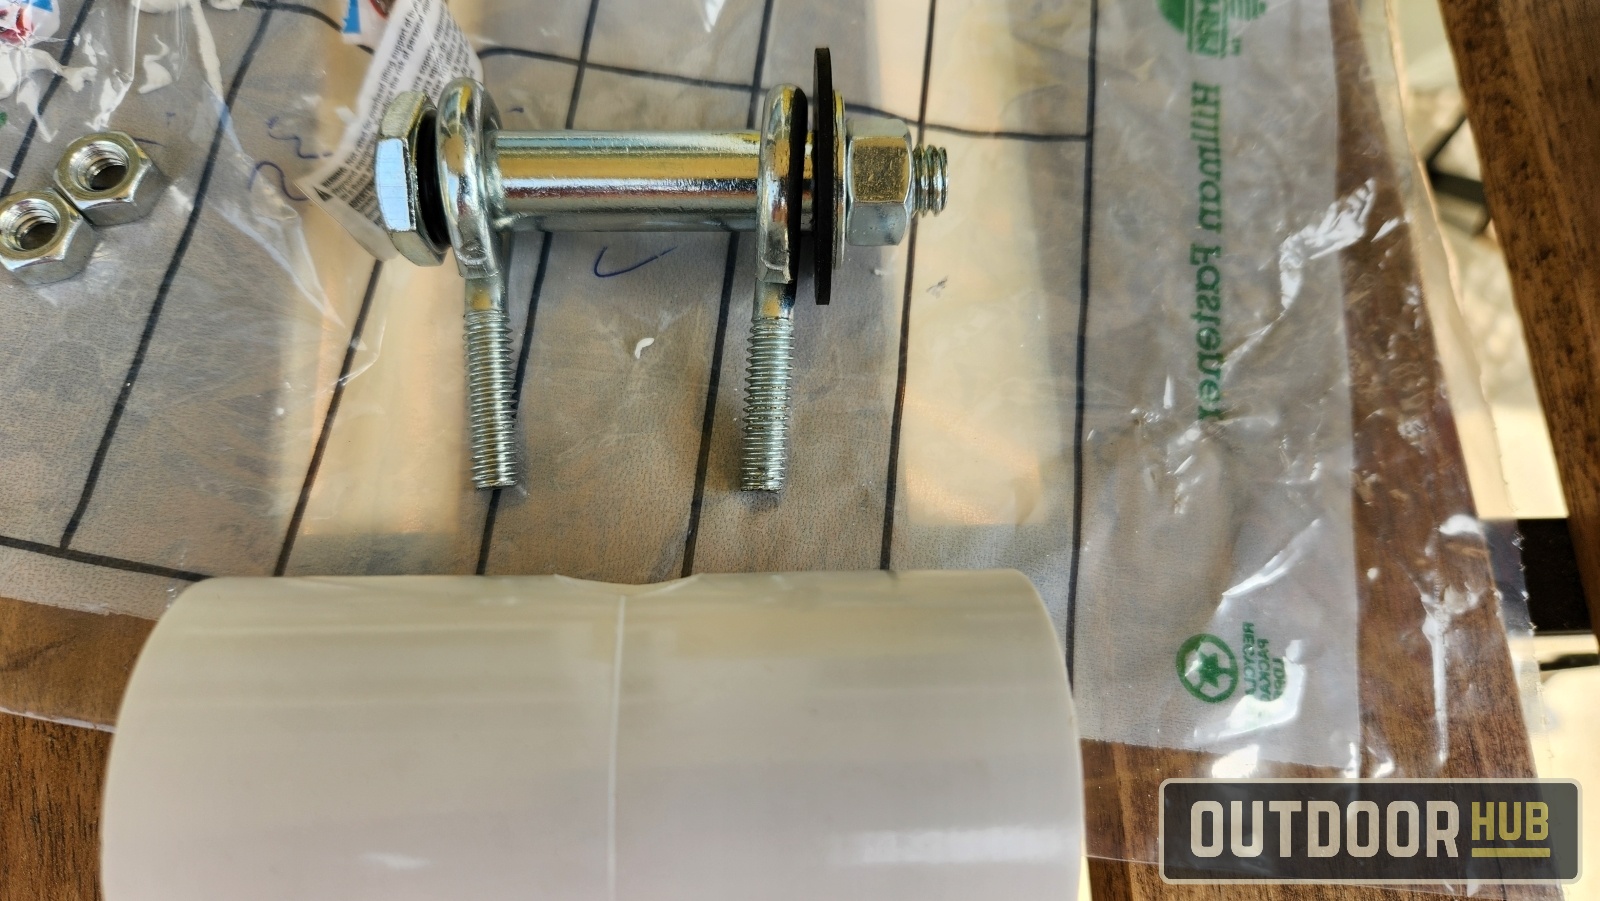
Next, grab the eyebolt, place one of the O-rings on top of it, and slide the O-ring to the head of the axle bolt.

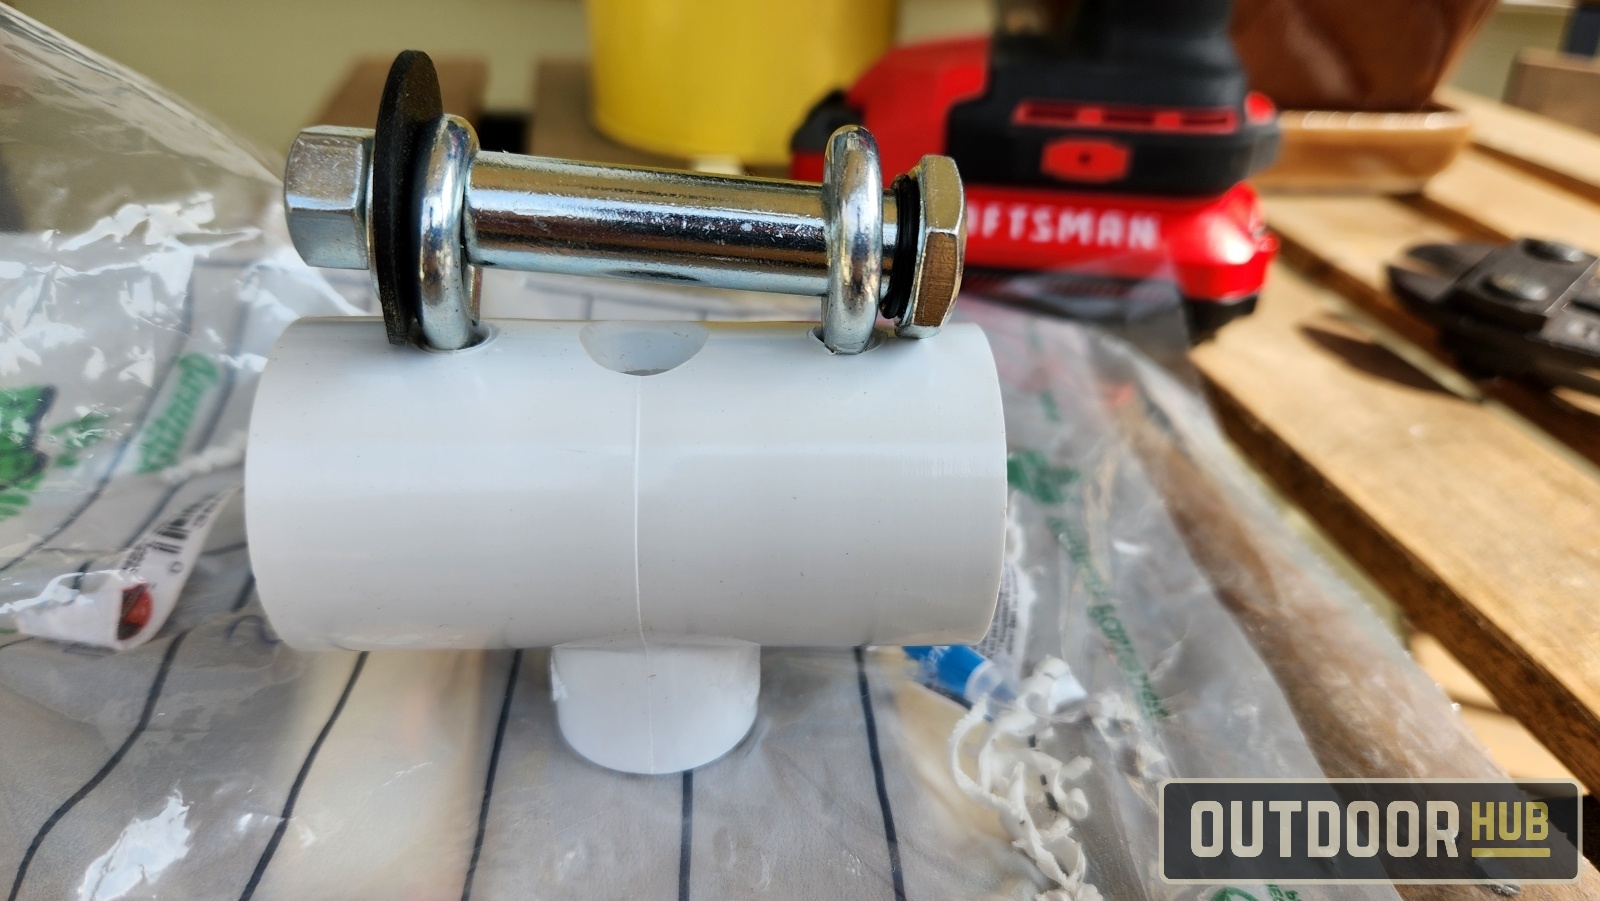
Next, slide the axle bolt into the eye bolt of the PVC fitting. Next, attach the rubber washer and metal washer to the bolt. Screw in and tighten the nut behind the washer. The washer and O-ring act as a source of friction to adjust the tension on this winding leader serving bobbin.
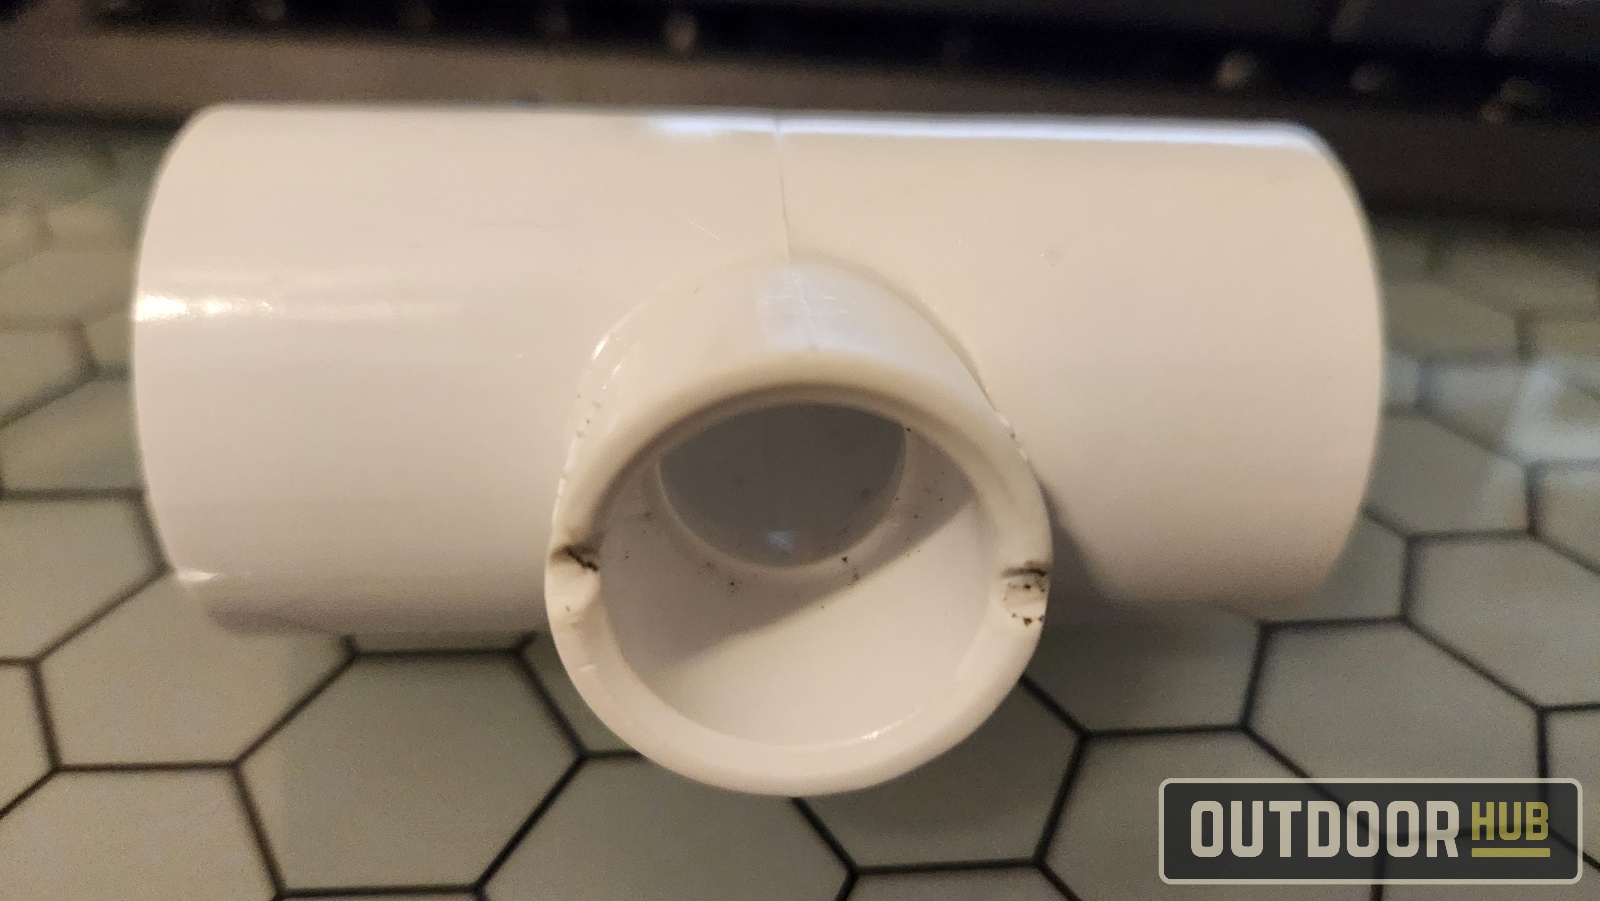
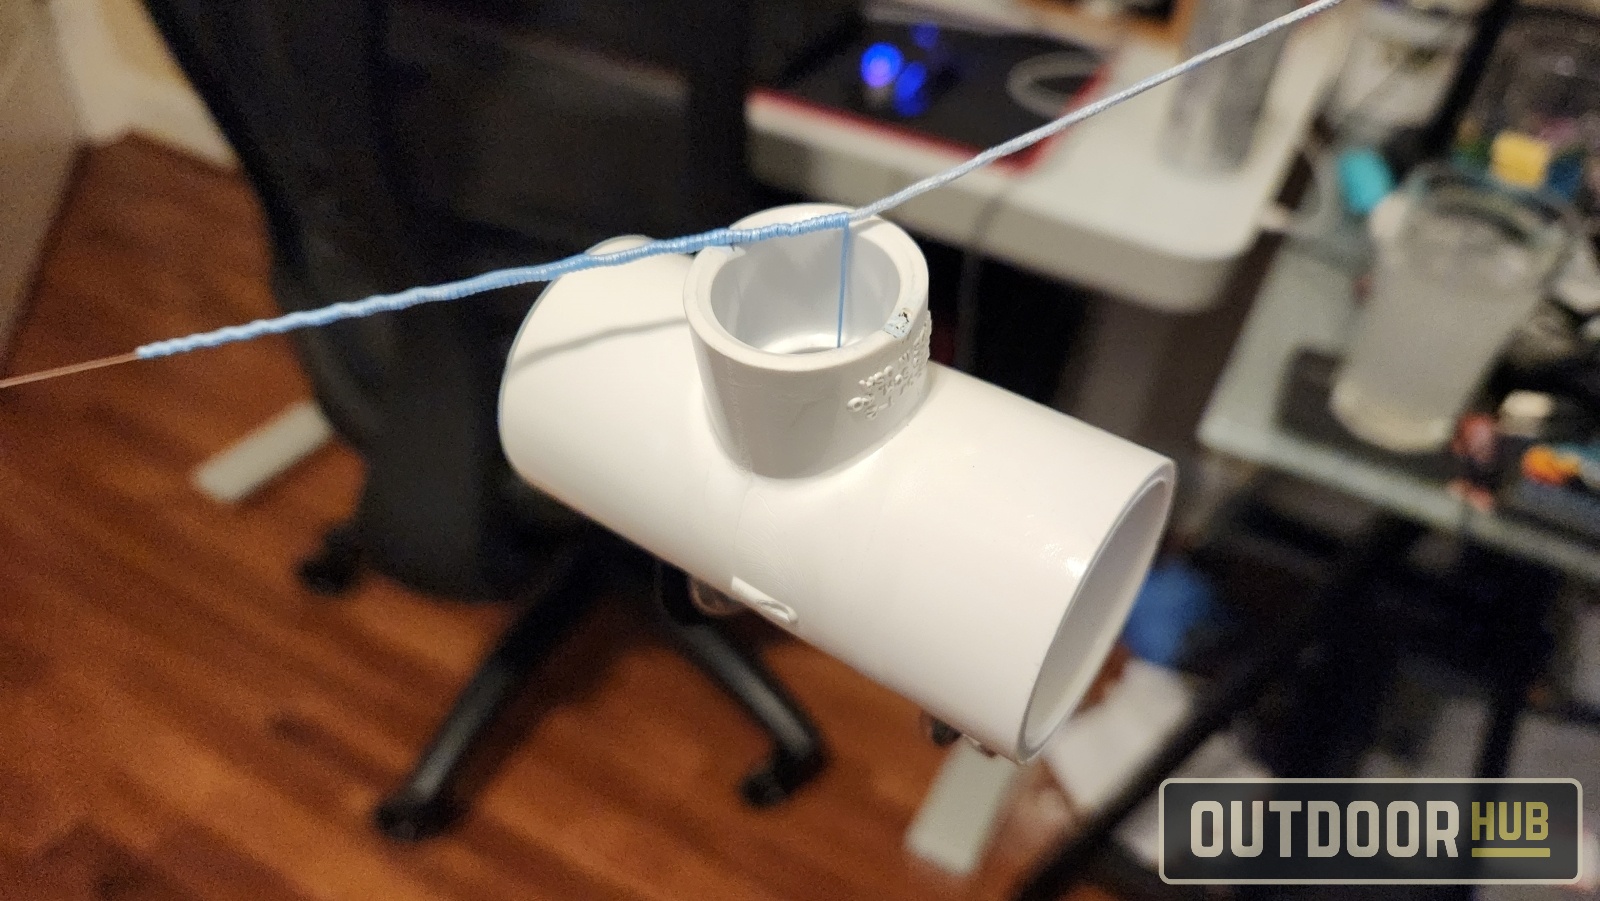
Next, cut a notch into the 1/4 inch side of the PVC fitting. I used a heated nail and a small drill bit to make the cuts. Next, use a sanding pad to round off any sharp or hard edges and remove anything that might damage the line. The purpose of the notch is to cradle the leader when you have finished servicing it, which helps the bobbin stay in place.
The final step to finish the bobbin is to apply a bit of electrical tape to the axle bolt. That way, your braided main line won't slip while applying tension when serving the leader.

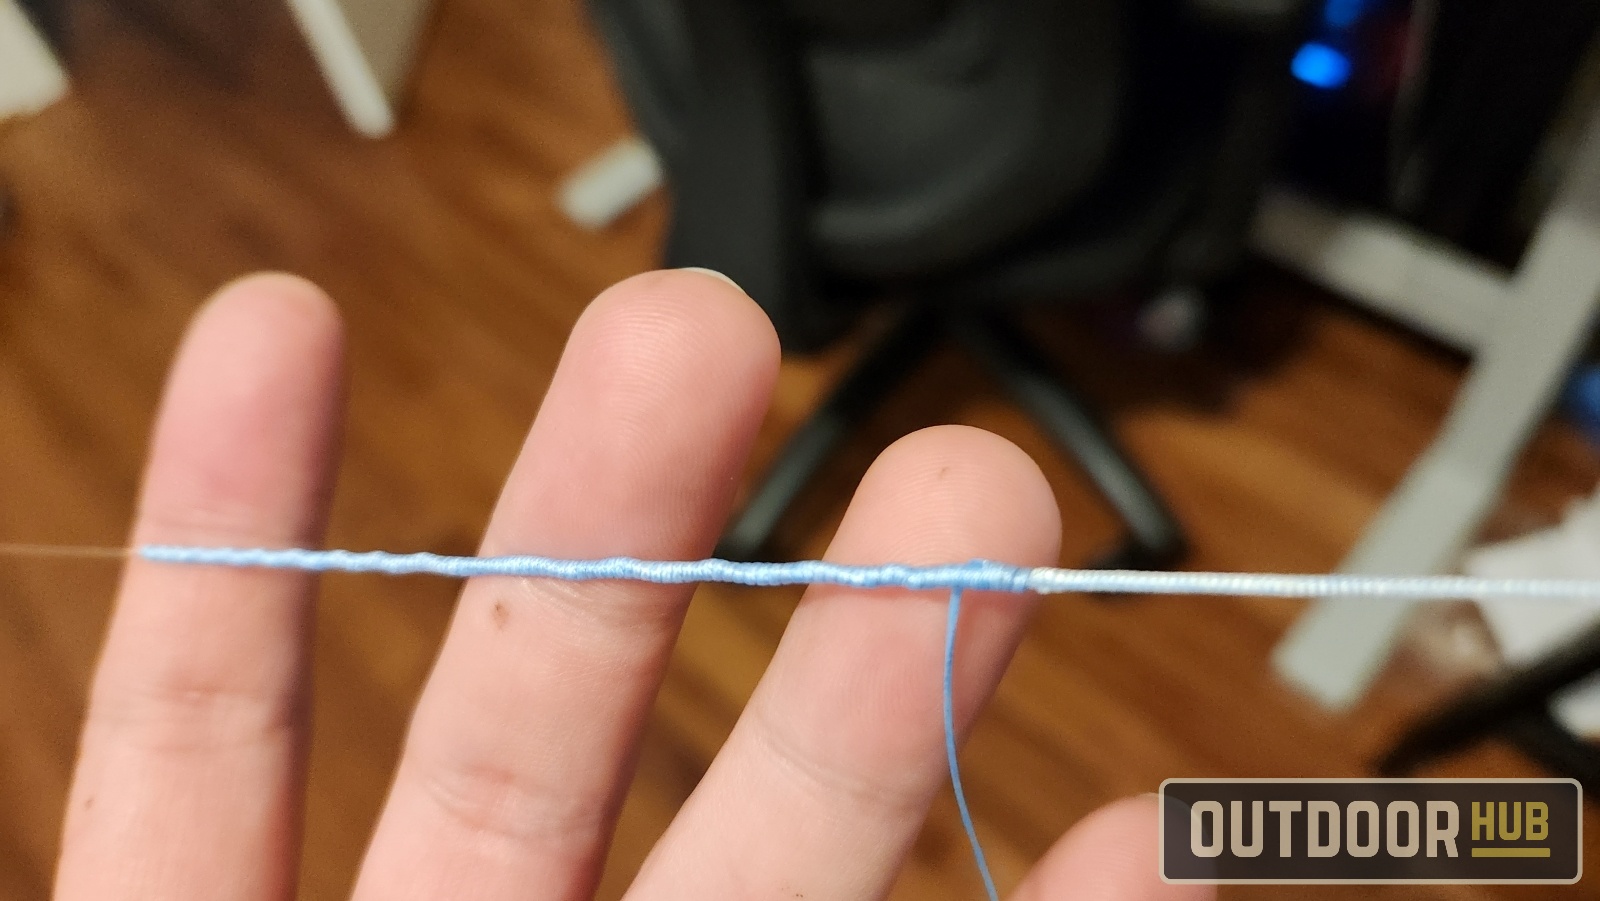
Here, I'm using a DIY Wind-On leader serving bobbin to tie a serving knot to complete the connection between an 80-pound hollow core braid and a single 60-pound monofilament top shot on a trolling rod. By utilizing the tension of the rubber washer, you can wrap the line tightly in two layers around the leader, securing the line in place. Then lock the loop with an inverted uni-knot for a 100% knot-strength connection that threads easily through any rod guide. So, if you have a trip planned in the next few days and don't have time to order bobbins, consider making your own. It required minimal effort, cost less than $15 to make, and took him less than an hour to assemble. It doesn't work as well as a dedicated commercial wind-on leader serving bobbin, but it definitely works in a pinch to make a serving knot.

Eugene L.
Eugene L. is currently a writer for OutdoorHub, but has chosen not to write a short bio at this time.
